A fursuit should fit the way you plan to use it, not just the way it looks in a product photo. A short appearance, a full convention day, a photo session, and a casual meetup can place very different demands on your setup. Start by describing the day, then choose the smallest coverage that still gives your character the presence you want.
Begin with the day, not the product page
Before comparing designs, write down the moments the outfit needs to support. Will you mostly pose for photos, walk between spaces, greet people, or spend long periods in one room? Will you need to change easily or carry extra items? These questions do not decide the design for you. They give you a useful filter when several options look appealing.
- Movement: note walking, posing, dancing, stairs, and the amount of time you expect to stay dressed.
- Visibility: decide which face, colors, markings, or silhouette details must read clearly in photos.
- Breaks: plan where you can pause, change layers, store components, or review care instructions.
- Social use: consider whether the character needs a strong first impression or a lighter setup for conversation.
A one-paragraph event brief is often enough: where you will wear the fursuit, what you will do, and what people should recognize first. Keep it beside you while shopping.
Let coverage answer the first question
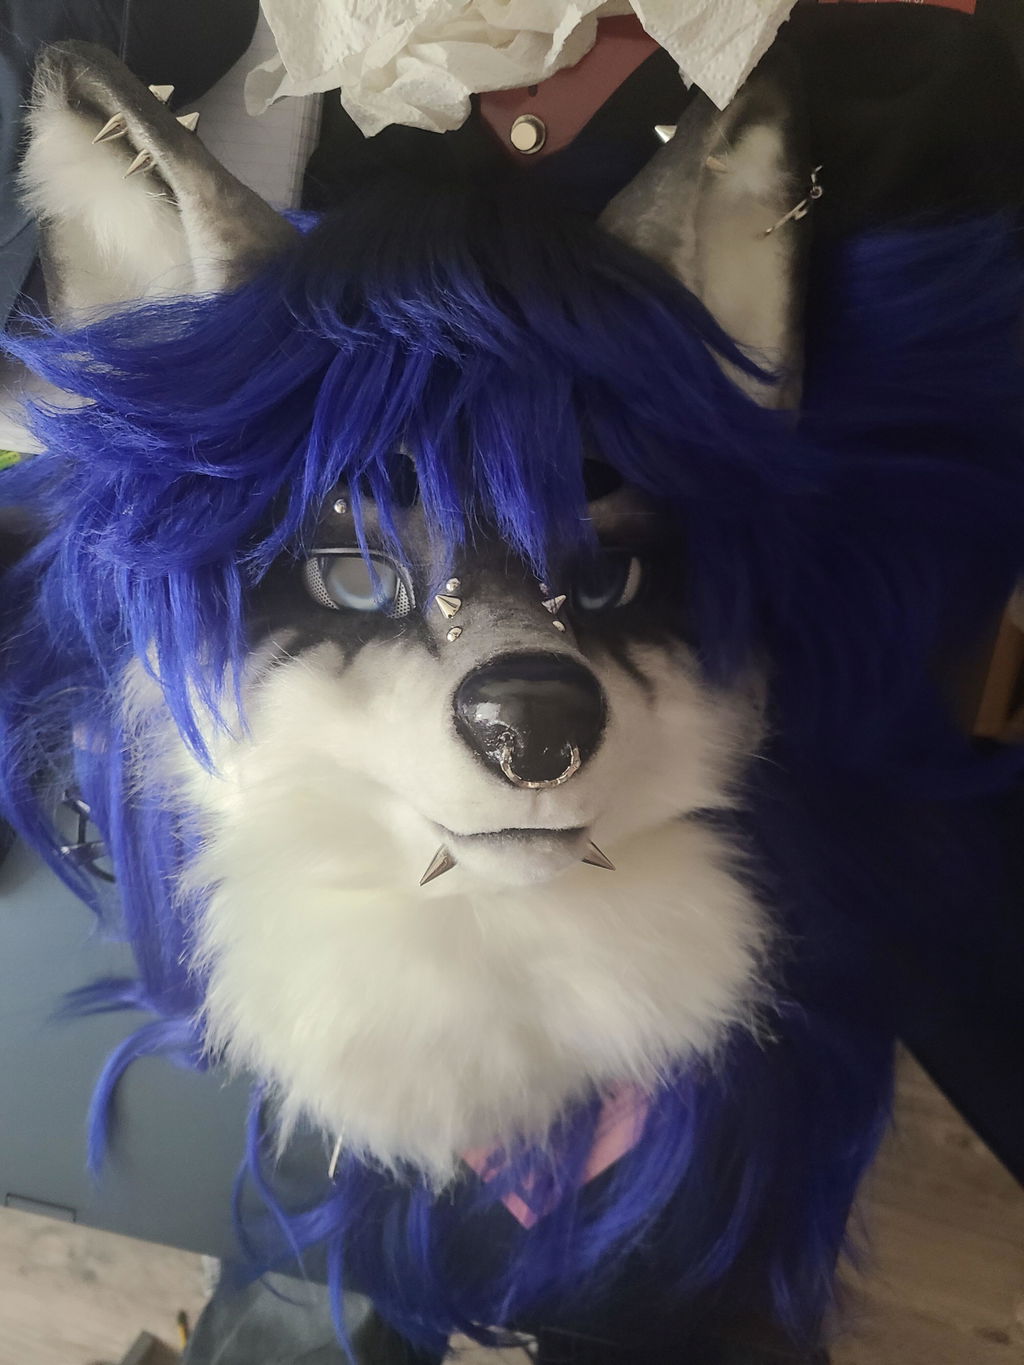
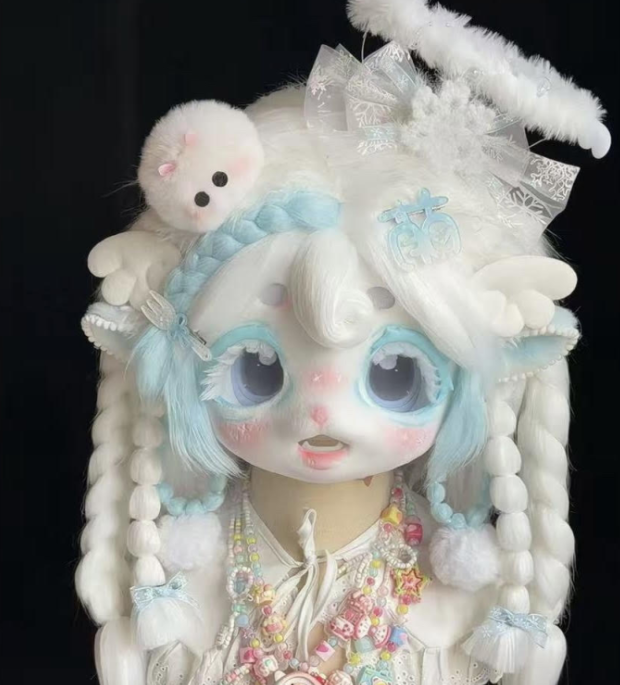
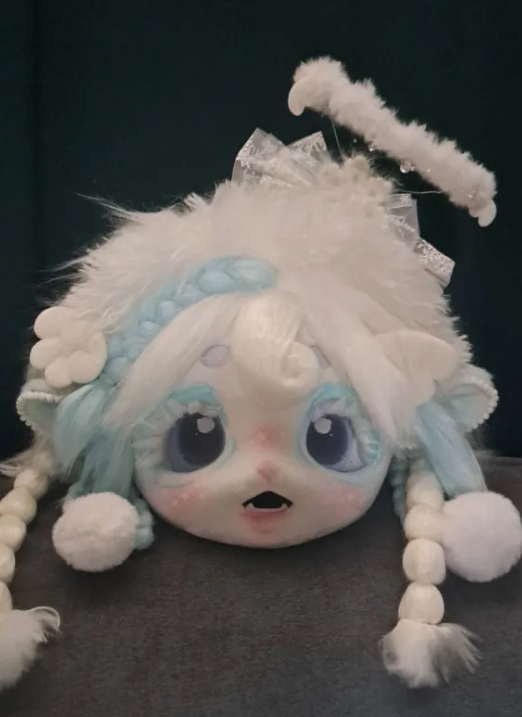
Coverage is a practical choice, not a ranking of better and worse fursuits. A head-only setup can put the character's face at the center of a short appearance or photo plan. A partial setup can add paws, a tail, or other recognizable pieces while leaving more of your everyday clothing available. A fuller setup can create a stronger all-over silhouette when that visual continuity is central to the event.
- Head-focused: choose this direction when expression and a recognizable face do most of the character work.
- Partial: consider it when paws, a tail, or a coordinated accent will make the character feel complete without requiring every component at once.
- Fuller coverage: use it when the whole-body outline is the main reason the character reads well in photos or at the event.
Separate “needed for the next event” from “nice to add later.” That distinction keeps your first order focused and gives you room to learn what you actually enjoy wearing.
Turn character recognition into a short checklist
Gather your references and label each detail by its job. The face may carry expression, the silhouette may carry species or attitude, and a color block may make the character recognizable from a distance. If every detail is marked as equally essential, comparison becomes difficult. Choose a small set of anchors instead.
- Face anchor: the expression, eye area, ears, or muzzle cue people should notice first.
- Silhouette anchor: the shape that makes the character distinct when viewed from across a room.
- Color anchor: the main contrast or marking that should remain consistent.
- Touch cue: one component, such as paws or a tail, that makes the setup feel finished.
Use those anchors to compare options. A design that preserves the important cues may serve your character better than one with more components but less visual clarity.
Compare components by the job they do
Once you know your coverage target, review each component as a separate decision. The verified catalog includes an in-stock fursuit head collection for head-focused browsing and an in-stock partial fursuit collection for coordinated smaller setups. For hand-focused character cues, compare Lightweight Fursuit Half-Paws with Free Gloves with the role you want paws to play in photos and movement.
Base layers and add-ons deserve the same clarity. An in-stock Fursuit Undersuit Bodysuit can be considered as a layer in the overall plan, while the Custom Fursuit Tail Order – Design Your Unique Tail can be evaluated as a silhouette cue. The point is not to collect links. It is to ask what job each component performs and whether that job matters on your event day.
For custom work, review the commission order process before you turn a character idea into an order. A clear process page can help you organize the information a maker needs without assuming that every project follows the same path.
Make the order easier to review
Before checkout or a commission conversation, prepare a short list of questions tied to your chosen scope. Confirm what is included, how measurements should be taken, which visual references will be used, what care information applies, and which delivery terms belong to the exact item or process. Avoid filling gaps with assumptions from another product page.
Then reread your event brief. If the order solves the movement, recognition, and coverage needs you wrote down, you have a defensible choice. If it adds pieces without solving a stated need, move those pieces to a later list. This method keeps the fursuit decision creative while making the practical part much easier to explain.
The right setup is the one that gives your character a clear presence and supports the day you actually want to have. Begin with use, choose coverage, protect the key visual cues, and add components only when they earn a place in the plan.