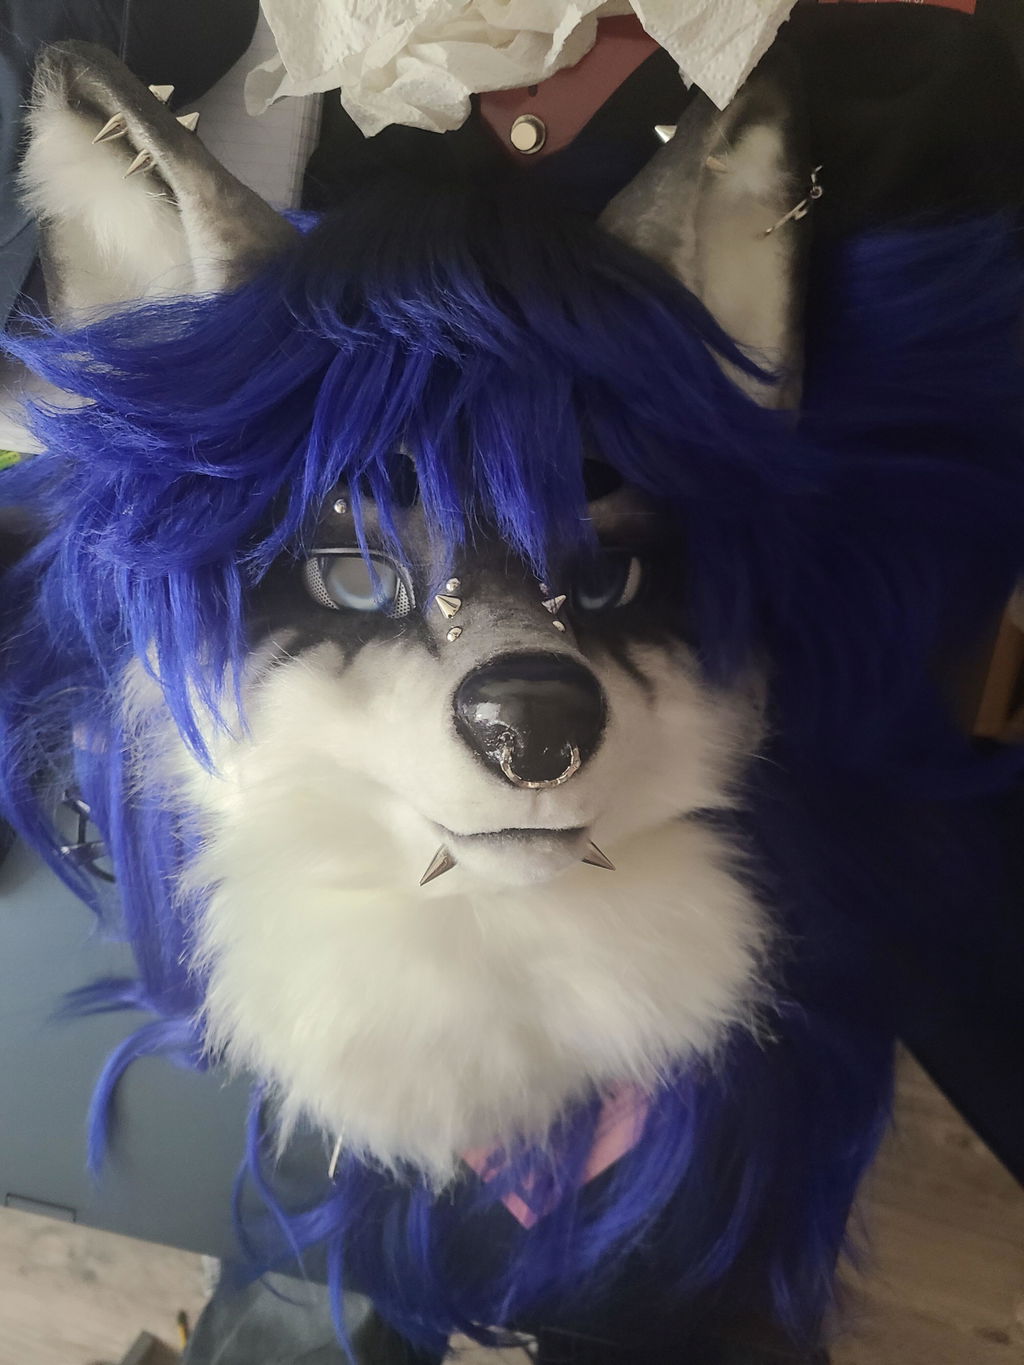
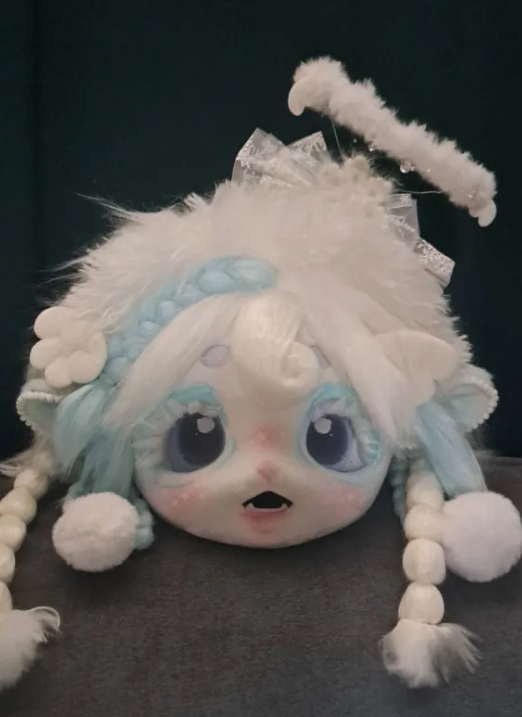
A realistic fursuit is not only a collection of natural colors or detailed references. It is a character that needs to read clearly while you move, pose, and spend time in the setting you chose. The most useful first step is to turn your reference images into a short brief: what people should notice, how the silhouette should work, and which components you actually need for the day.
Start with the scene where realism must read
Before you compare a realistic fursuit, describe the moment that matters most. A studio portrait, a convention floor, a short stage appearance, and an outdoor photo session can reward different priorities. Your brief should tell a maker or seller what the character needs to do, not just what animal or visual reference inspired it.
- Distance: decide whether the character needs to read from across a room or mainly in close photographs.
- Movement: note walking, posing, stairs, sitting, or repeated gestures that the setup must support.
- Recognition: name the face, markings, ears, tail, or outline that should remain identifiable first.
- Time: write down how long you expect to wear the setup and where breaks can happen.
Keep this scene note to a few sentences. It becomes a filter when two attractive options solve different problems.
Choose realism anchors instead of copying every detail
Natural references often contain more information than a wearable character needs. Select a small group of anchors and label the job each one performs. This keeps the design specific without turning the brief into an unranked mood board.
- Face anchor: identify the expression, eye contrast, muzzle shape, or brow treatment that carries the character's personality.
- Silhouette anchor: describe the head profile, ear direction, shoulder line, or tail shape that should be recognizable at a distance.
- Marking anchor: record the pattern or contrast that helps the character read in photographs.
- Texture anchor: decide where a smooth, soft, or visibly layered surface matters to the look; do not assume every area needs equal emphasis.
Then mark each anchor as essential, helpful, or optional. That ranking gives you a useful way to review a product page or explain a custom idea without promising a detail that has not been confirmed.
Match the brief to the setup you will actually wear
Realism does not require one fixed amount of coverage. Choose the setup by asking which components carry the anchors you selected. If the face and profile do most of the work, a head-focused plan may be enough for the next step. If hand gestures, a tail, or a coordinated lower silhouette are central, a partial direction may communicate the character more fully.
- Head-focused: use this scope when expression and profile are the main recognition cues for photos or short appearances.
- Partial: consider this when paws, a tail, or another component adds a clear silhouette or gesture cue without requiring every piece at once.
- Fuller setup: choose this direction when the complete outline is essential to the character brief and the event plan supports it.
For browsing, the verified realistic fursuit collection gives you a style-specific starting point, while the fursuit head collection helps when the face is your primary anchor. Treat each destination as a place to compare the job of a component, not as proof that every listed option fits your brief.
Review practical layers before you compare looks
A convincing reference still has to become a manageable event setup. Add practical questions to the same document as your visual anchors: how you will see, how you will pause, what you will carry, and which layers need their own care instructions. These questions protect the character brief from becoming a purely visual promise.
- Visibility: confirm what you need to see while moving through the planned setting.
- Layering: separate the character components from the clothing or base layer you will wear underneath.
- Break plan: identify a place and moment for pauses instead of treating comfort as an afterthought.
- Care: ask which cleaning and storage guidance belongs to the exact item you are considering.
The catalog includes an in-stock Realistic White Lion Fursuit Head and an in-stock Fursuit Undersuit Bodysuit. Their presence can help you separate a head decision from a base-layer decision; it does not establish fit, included parts, or suitability for your particular body or event.
Turn the brief into a useful buying conversation
Before you buy or commission, send a compact package that another person can review. Put the scene note first, followed by your essential anchors, optional details, target coverage, and practical questions. Use reference images to clarify a decision rather than to imply that every visible detail must be reproduced.
- Show priority: list the three details that must survive from the reference to the finished character.
- Define scope: state whether you are comparing a head, partial setup, fuller setup, or a staged plan.
- Ask what is included: request confirmation for components, measurements, references, care information, and the exact ordering steps.
- Check the process: read the commission order process before assuming that a custom project follows the same path as a ready-to-buy listing.
A strong brief makes uncertainty visible. If an important point is not confirmed, leave it as a question instead of filling the gap with a guess from another listing.
The best realistic fursuit plan balances natural character cues with the real day you want to have. Start with the scene, rank the anchors, choose coverage by purpose, and carry the unanswered questions into the buying conversation.