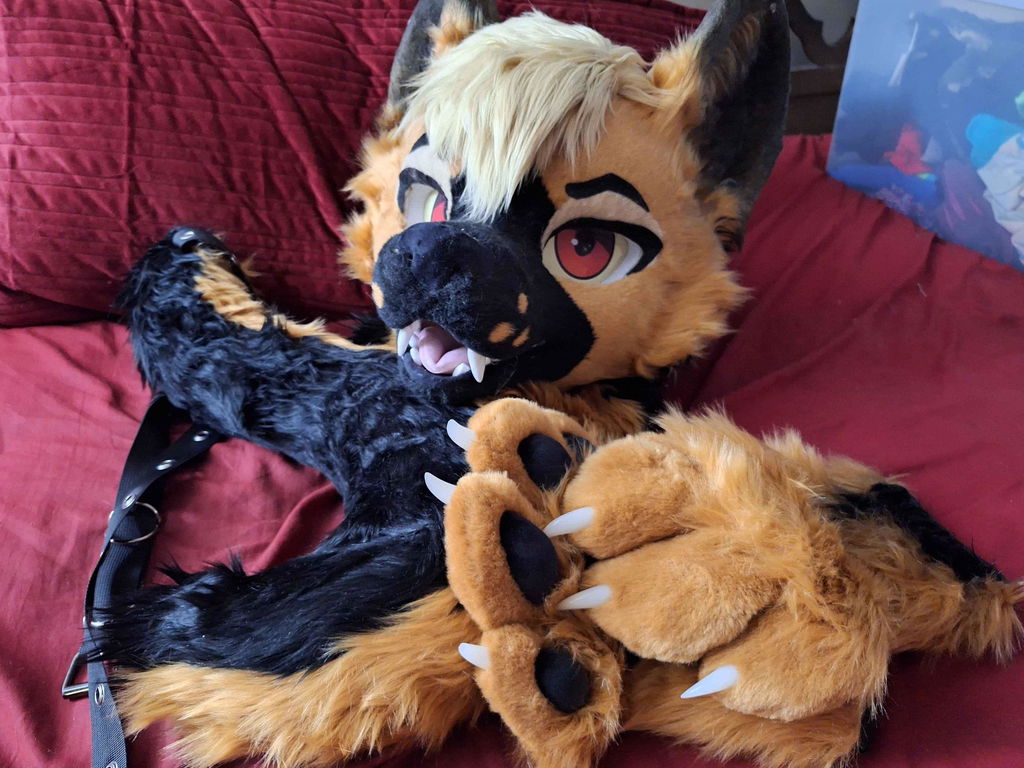
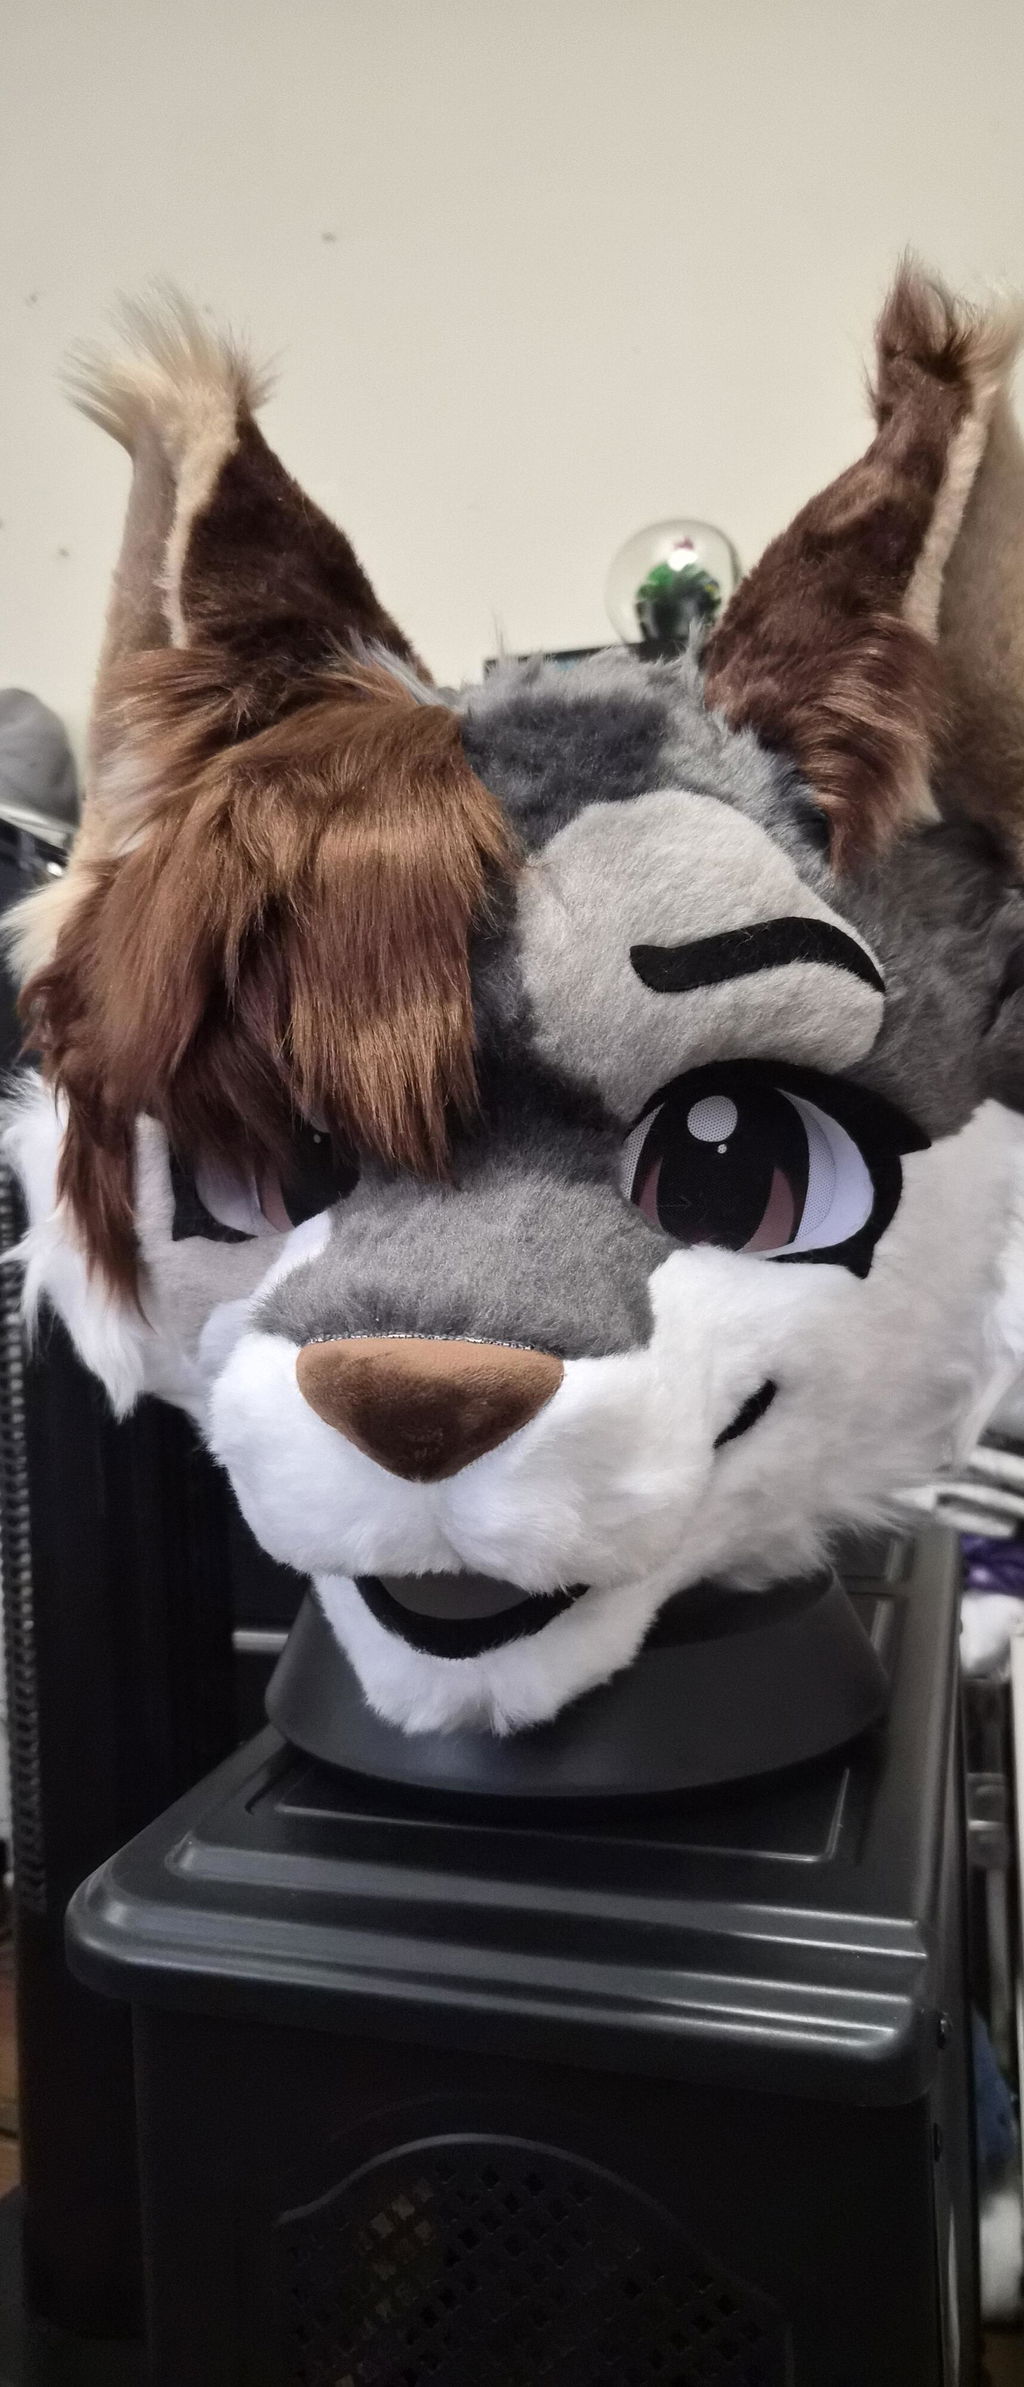
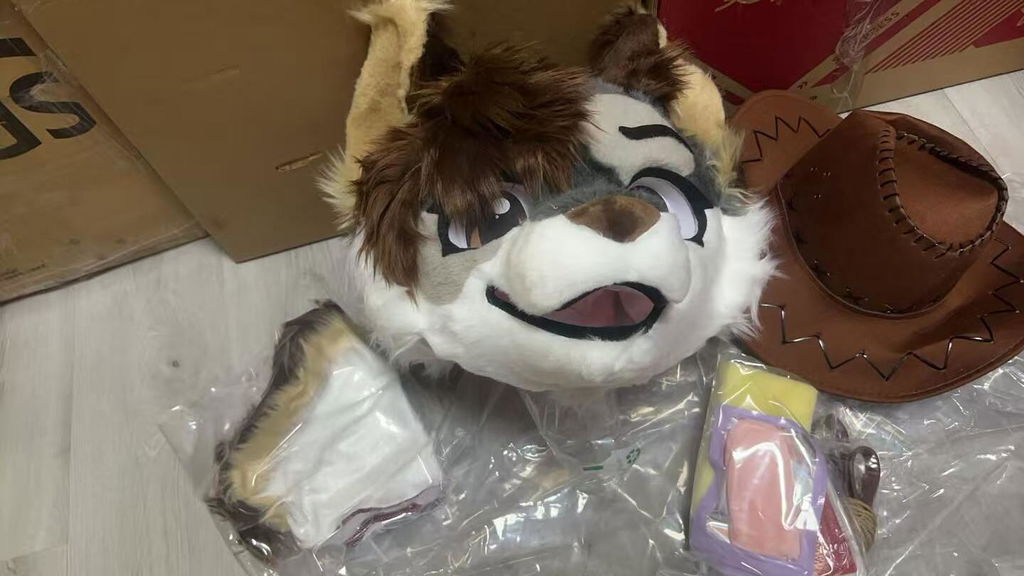
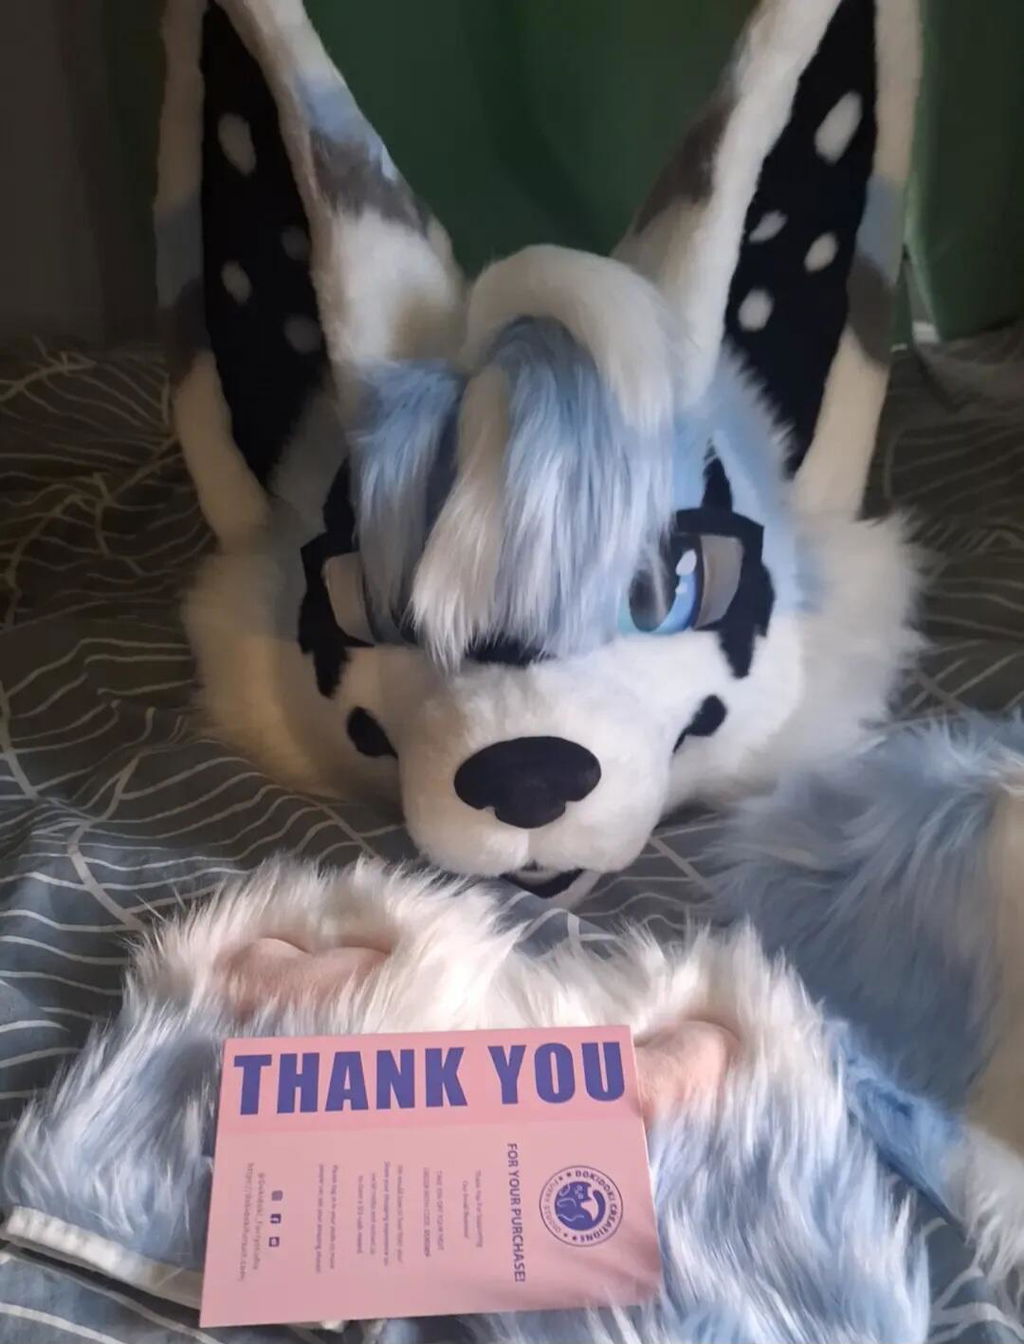
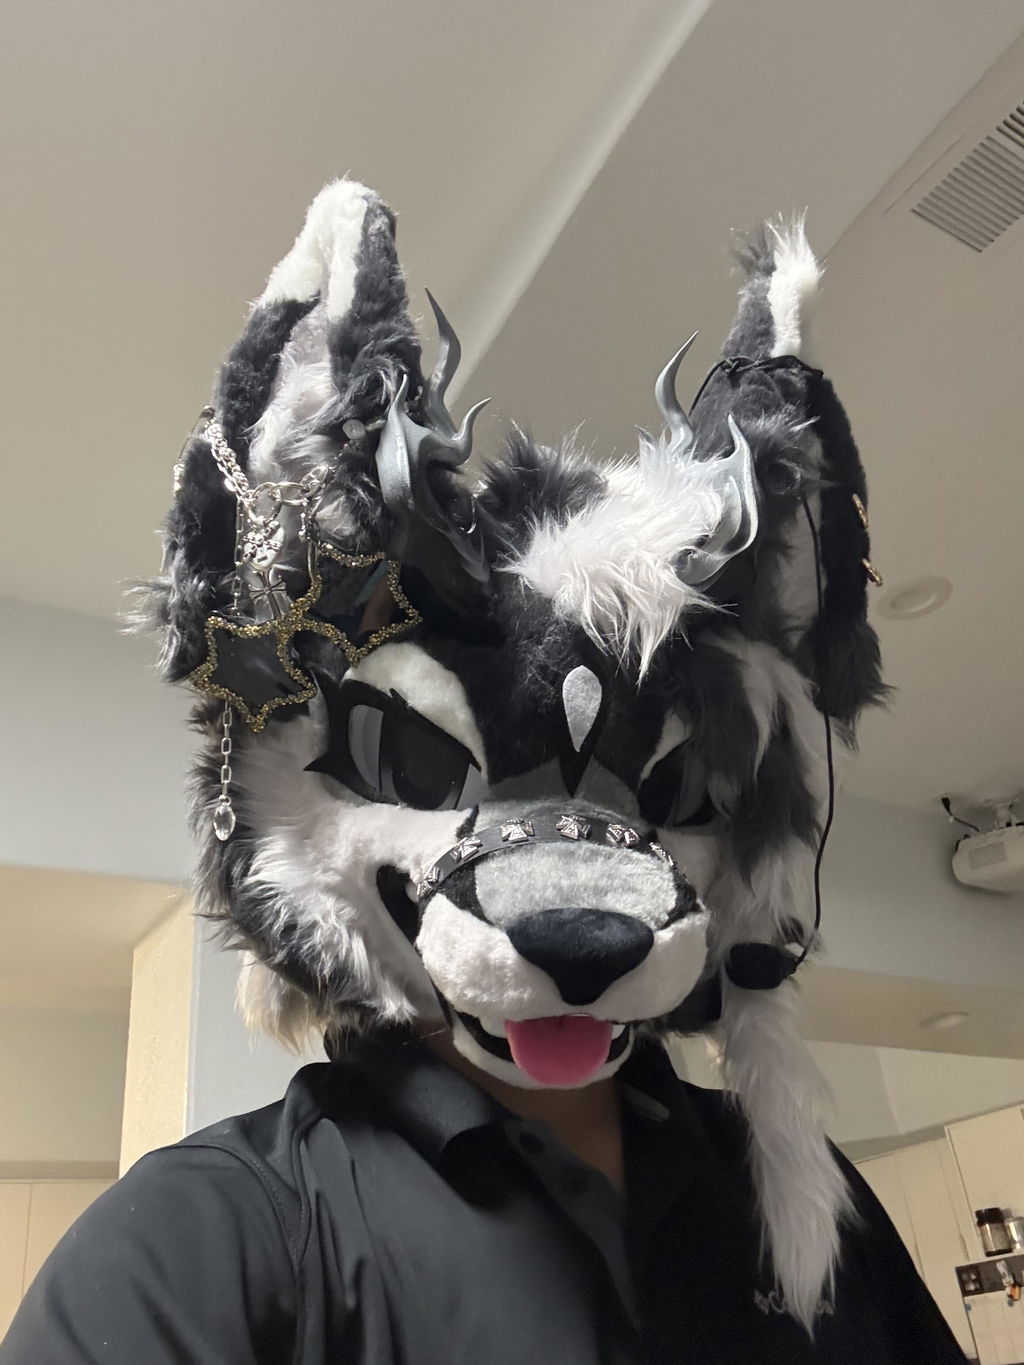
Fursuits can look very different, but the most useful comparison begins with your event plan. A suit for short photo sessions may need a different balance of coverage and support pieces than one you will wear while walking between rooms, greeting people, and taking regular breaks. Start by describing the day in scenes, then let those scenes guide the shortlist.
Map the day before you compare the look
Write down where the character will be used and what you will do in each place. This keeps a striking image from hiding a practical mismatch. A simple plan might include entering the venue, moving through busy areas, posing, meeting friends, and storing or adjusting pieces during breaks.
- Walking: note distance, stairs, and whether you need a natural stride.
- Photos: decide which face markings, ears, paws, or tail should read first.
- Social time: allow for visibility, hand gestures, and comfortable pauses.
- Breaks: identify when a layer or accessory will be removed or adjusted.
Choose coverage around movement, not a category name
Coverage is a design decision as much as a shopping filter. A fuller plan can create a strong, unified silhouette, while a partial setup may make it easier to combine character pieces with your own event clothing. If you are still testing the idea, compare the role of each piece rather than assuming that more coverage is automatically better.
A fursuit undersuit bodysuit can help clarify the base-layer plan for a fuller look. For a lighter setup, compare how lightweight half-paws support gestures without deciding the entire outfit at once.
Give the character three visual anchors
Before comparing listings, name the three details that make the character recognizable. They might be a high-contrast face, an unusual ear shape, a bright tail, or a particular hand gesture. Treat those details as anchors: every candidate should support them, and any extra piece should have a clear reason to stay.
- Write the three cues in plain language.
- Decide which cue must be visible in a group photo.
- Match the head, hand, and tail choices to those cues.
- Remove options that make the silhouette confusing or hard to move in.
If the hands carry much of the character's expression, start with premade fursuit paws as a focused comparison. If the tail is the main visual cue, a custom fursuit tail order can give that part of the brief a clearer place.
Build the support kit from the moments that matter
Support pieces should solve a specific moment in your day. A base layer can organize the overall outfit, paws can make gestures easier to plan, and a tail can finish the silhouette. The key is to write down when each item will be worn, carried, adjusted, or set aside. That turns a shopping list into an event kit you can actually manage.
- For character clarity, keep the most important cue visible from a distance.
- For movement, leave room for walking, turning, and carrying essentials.
- For communication, check the sight lines and the gestures you expect to use.
- For packing, group pieces by the scene in which you will need them.
Use a short decision check before you commit
Review the shortlist with four questions: Does the silhouette communicate the character quickly? Can you move through the spaces on your plan? Can you see and interact in the way you need? Does every support piece earn its place? If the answer is yes, you have a useful basis for comparing fursuits. If not, revise the event plan or remove a piece before the visual details become a distraction.
The strongest choice is the setup that makes the character readable while still fitting the way you want to spend the day. A clear brief gives you a better conversation with a maker or a more focused way to compare ready-to-wear options.