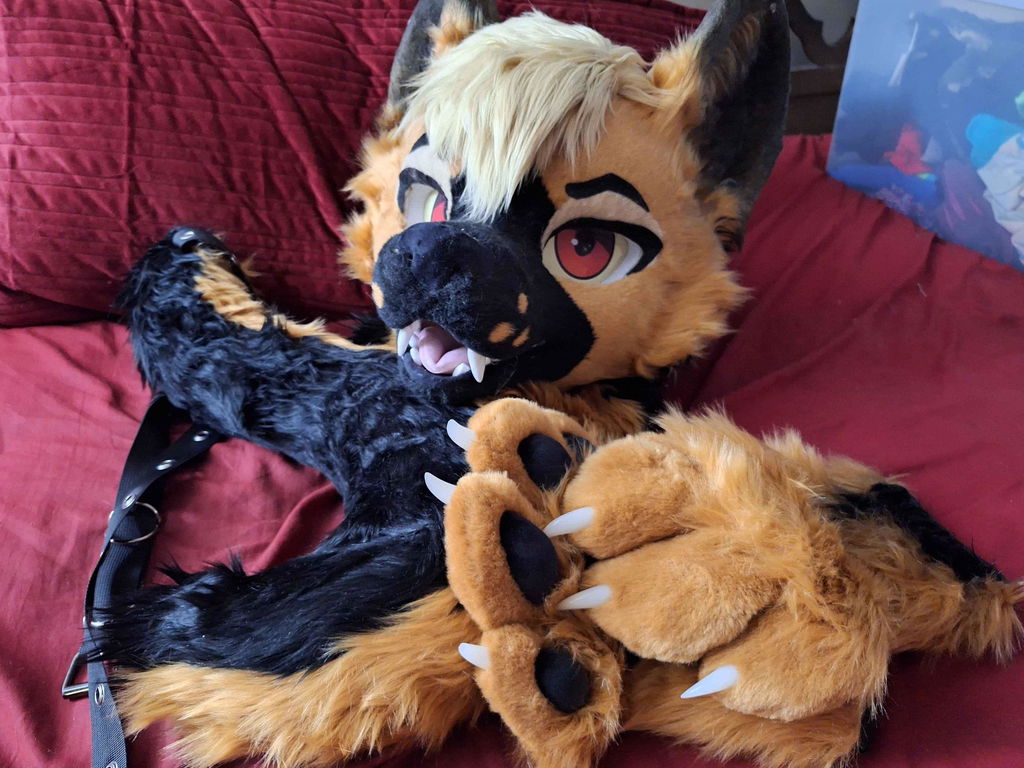
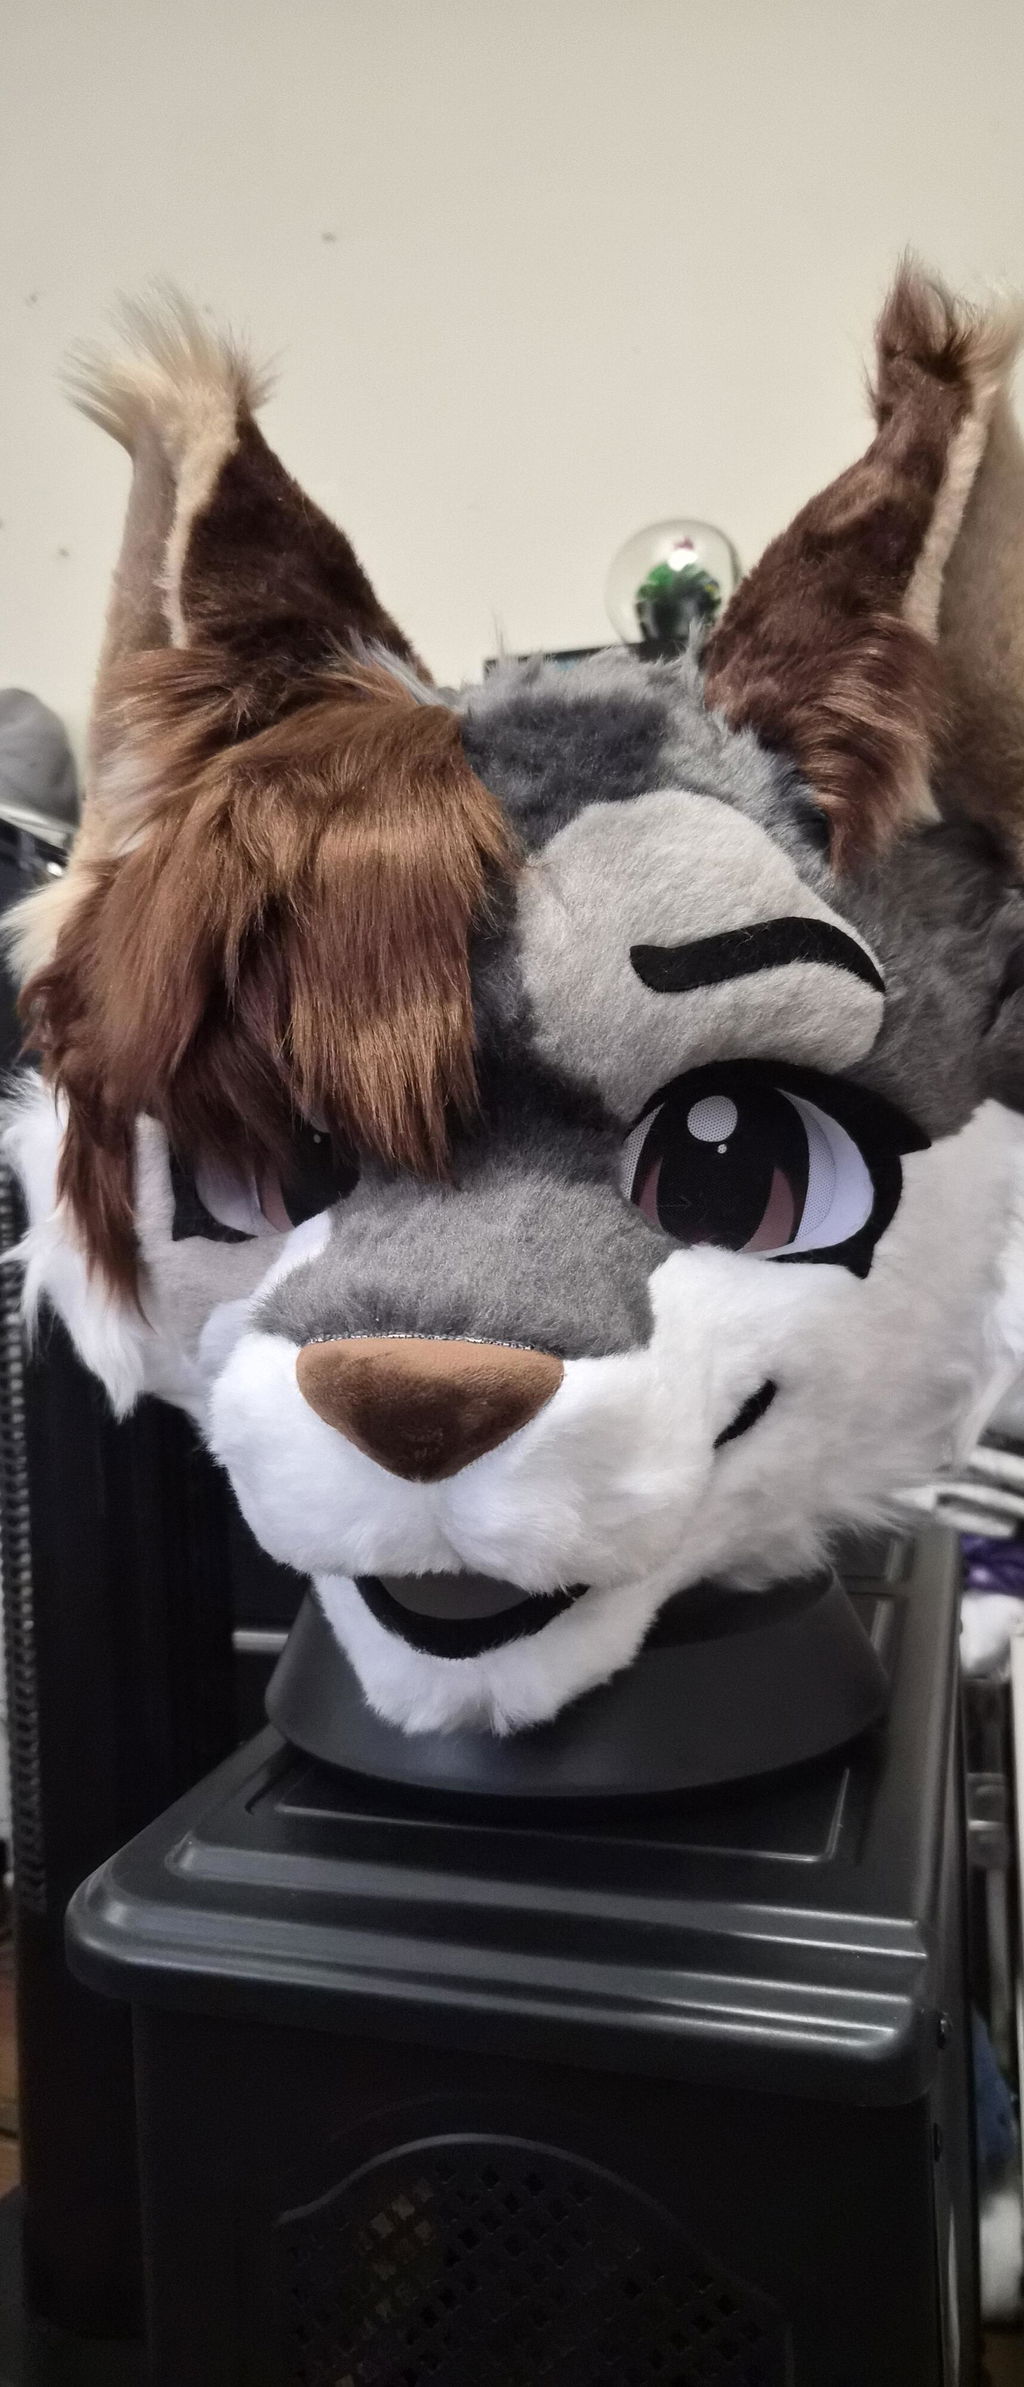
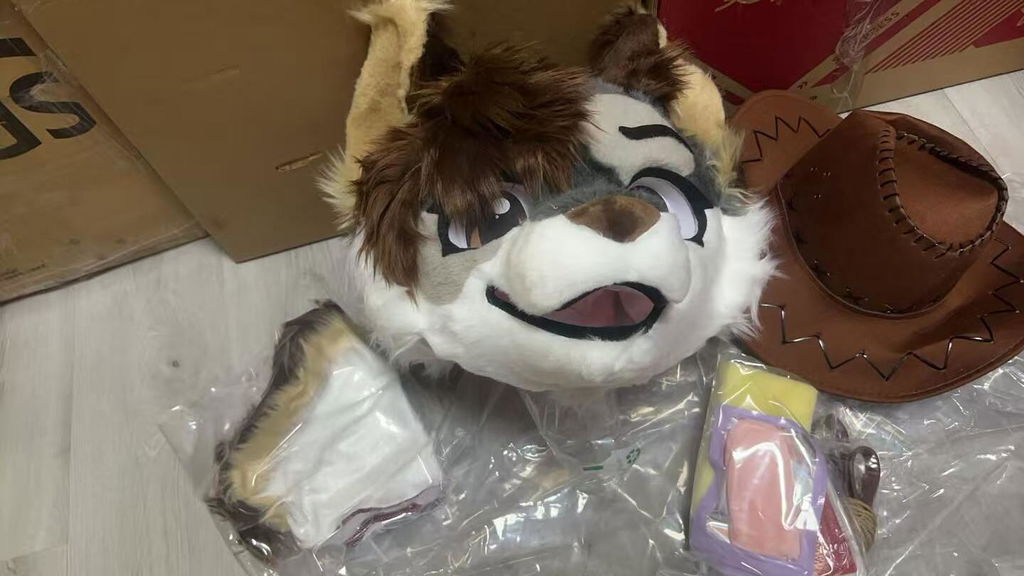
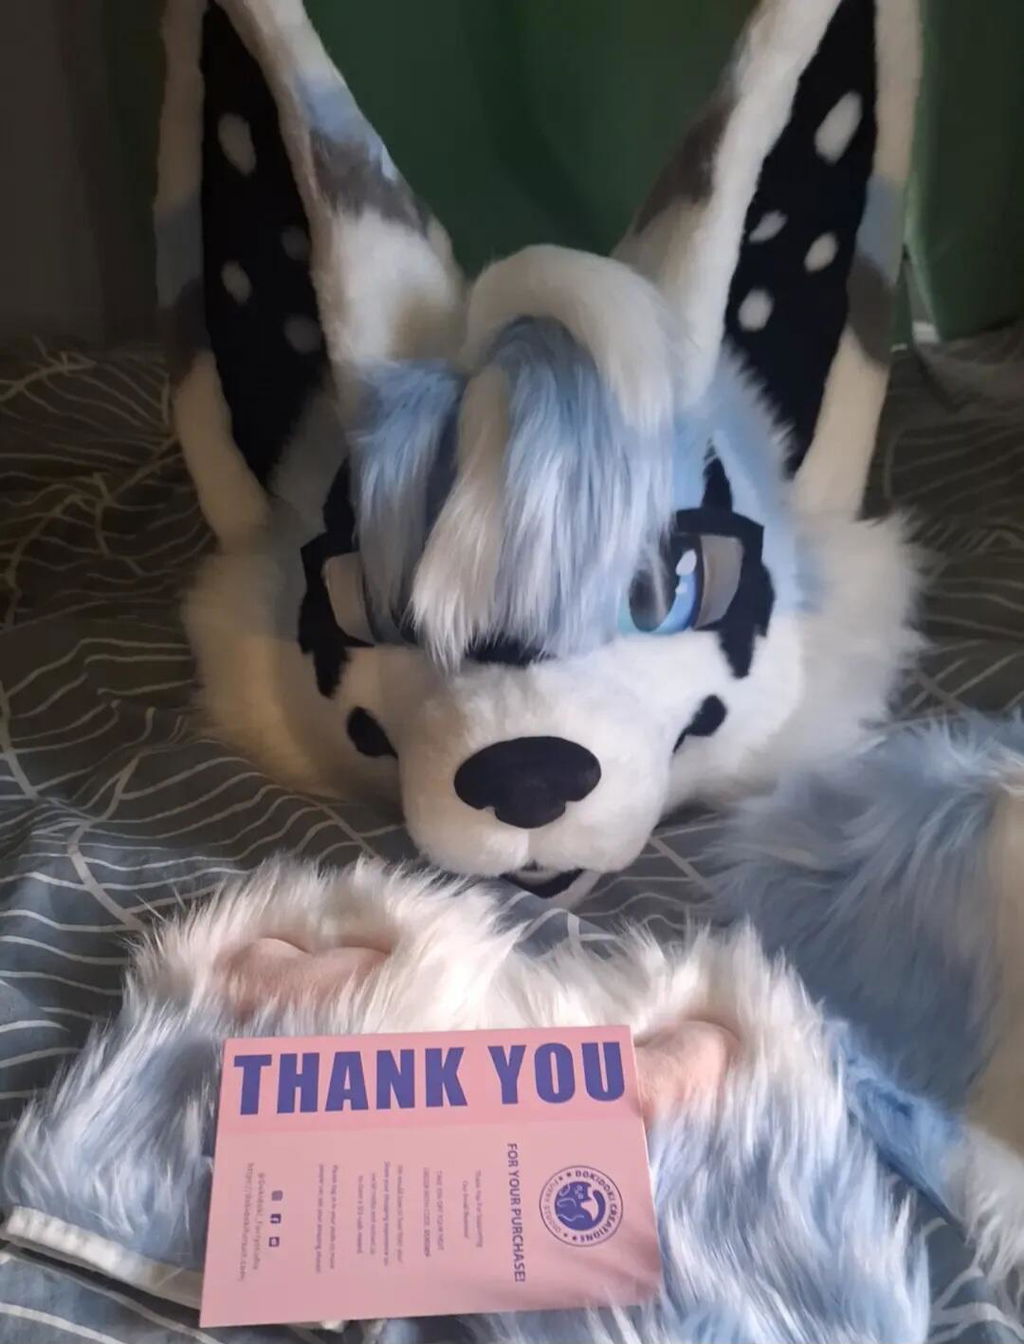
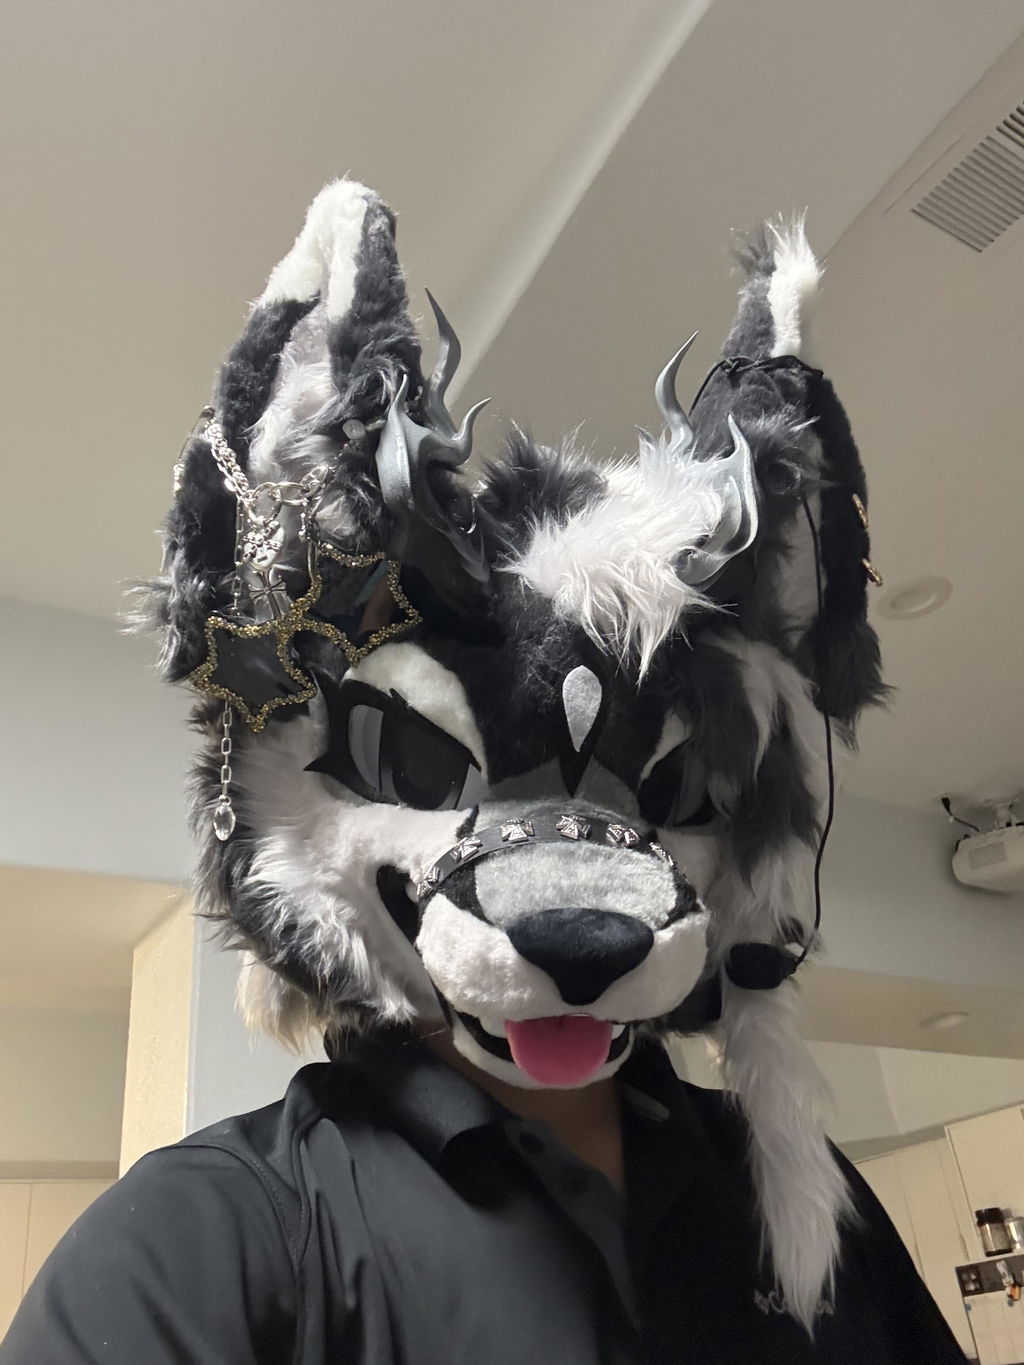
A kigurumi fursuit can make a character feel soft, graphic, and immediately readable, but the best choice depends on how you plan to move through a real event. Before you focus on a color story, map the moments that matter: walking between rooms, posing for photos, greeting people, and taking breaks. That simple map helps you choose the right coverage and identify the accessories that support the look.
Start with the moments your character needs to handle
Think of your first event as a sequence rather than a single photo. If you expect long walks, a lighter partial direction may be easier to manage. If the character needs a strong silhouette in group photos, prioritize the head, paws, and tail as a coordinated visual set. For a custom plan, write down the poses and interactions you expect so your maker or seller can respond to a specific brief.
- Walking: check whether the planned coverage leaves room for a natural stride.
- Photos: decide which face, ears, markings, or tail should read first.
- Conversation: account for visibility and the need to pause comfortably.
- Breaks: plan where an undersuit or cooling accessory fits into the routine.
Use visibility and movement as design filters
The rounded, simplified look associated with a kigurumi fursuit is part of its appeal, yet a cute silhouette still needs a practical event plan. Compare the head shape from the angles people will see, then consider how the rest of the outfit supports that shape. A fursuit undersuit bodysuit can serve as a clean base layer when your plan calls for fuller coverage. For hand movement, premade fursuit paws or lightweight half-paws can help you test the character’s gesture language before committing to a larger setup.
Keep the decision grounded in your own use: what you can see, how you turn your head, how you carry a bag, and how often you need a rest will matter more than a generic style label.
Build a shortlist around the character’s visual anchors
Choose two or three anchors that make the character recognizable. They might be a high-contrast face, a distinctive tail, or a simple paw shape. Then check every candidate against those anchors instead of comparing products by title alone. A custom fursuit tail order can be useful when the tail is central to the character brief, while premade paws are a practical starting point when the hands carry the expression.
- Write the character’s three most important visual cues.
- Match the head, hand, and tail choices to those cues.
- Remove any option that conflicts with the way you expect to move.
- Review the remaining shortlist in the context of your event schedule.
Prepare the event kit before you decide
A kigurumi fursuit plan is stronger when the support pieces are considered early. A bodysuit can clarify the base-layer plan, paws can clarify gestures, and a tail can complete the silhouette. Put those pieces beside your event checklist and ask what will be worn, carried, removed, or adjusted during the day. This turns an appealing character idea into a setup you can actually explain and compare.
Once your brief is clear, browse the available pieces and keep only options that support the same character cues. The goal is not to add more parts; it is to make each part earn its place in the look.
Make the final choice with a repeatable checklist
Before you buy or commission, revisit four questions: Does the silhouette read from a distance? Can you move through your planned spaces? Can you see and communicate comfortably? Do the support pieces reinforce the character rather than compete with it? Answering those questions gives first-time shoppers a calm way to compare a kigurumi fursuit with other styles and choose an event plan that fits their real priorities.