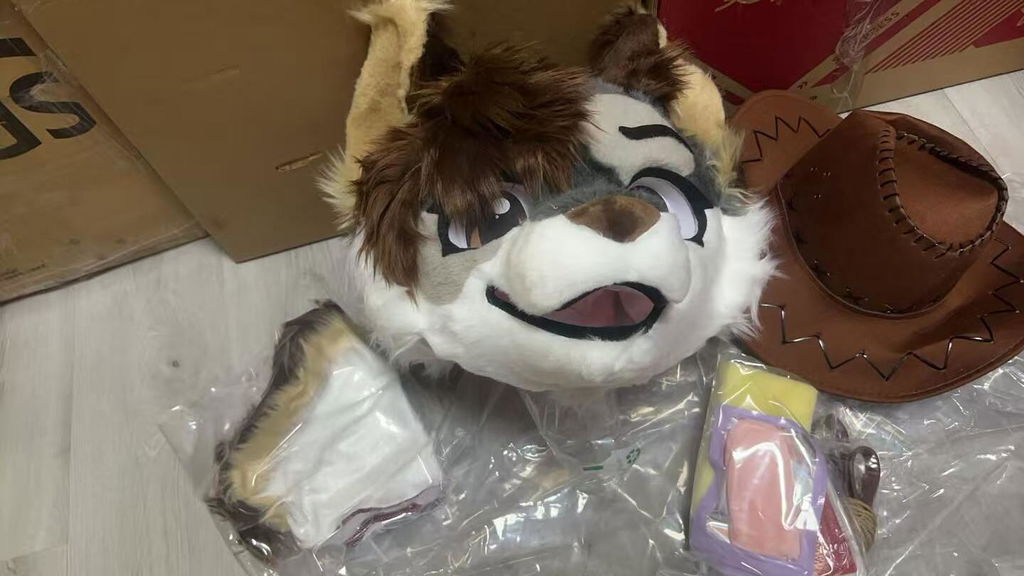
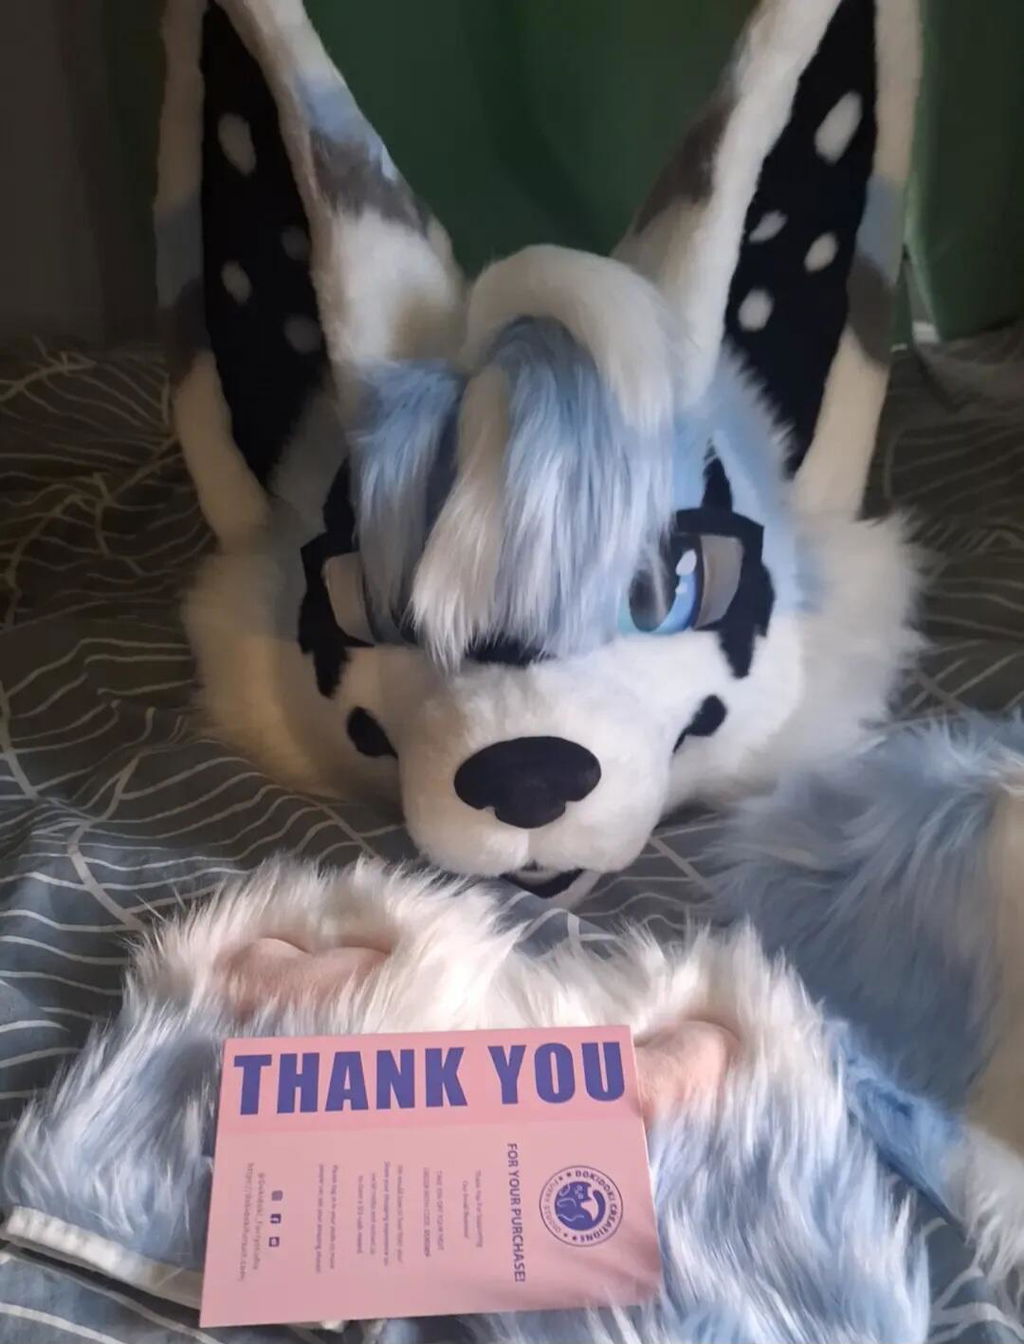
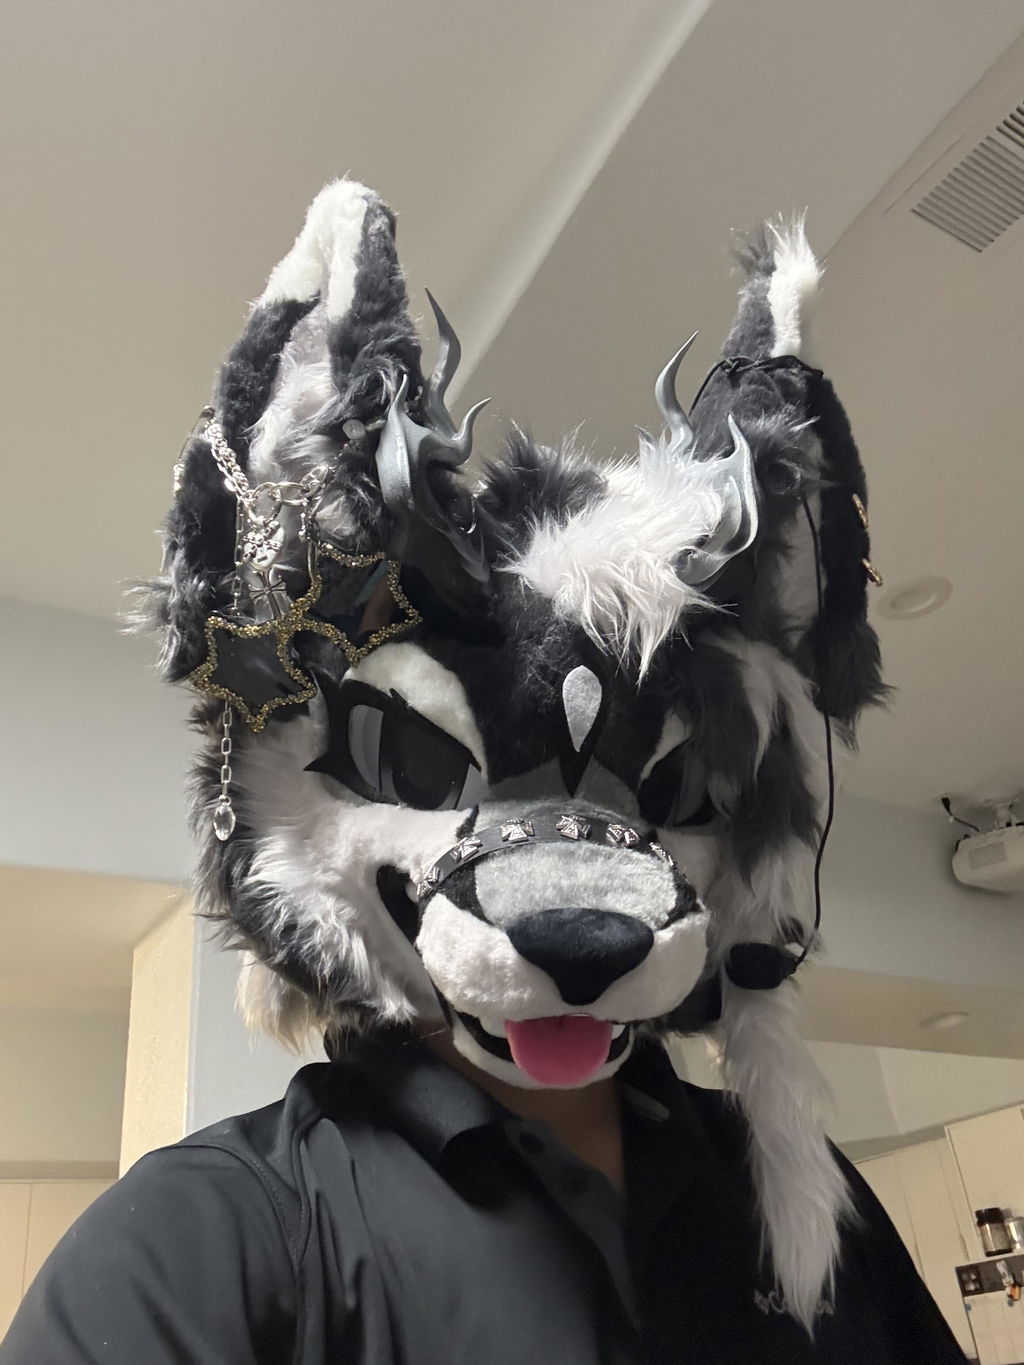
A kemono fursuit is easiest to compare when you start with the character's visual language rather than a single product photo. The rounded face, large eye area, color blocking, and friendly expression should work together. Before browsing, decide which of those cues must remain recognizable in photos and in motion.
Define the face shape your character needs
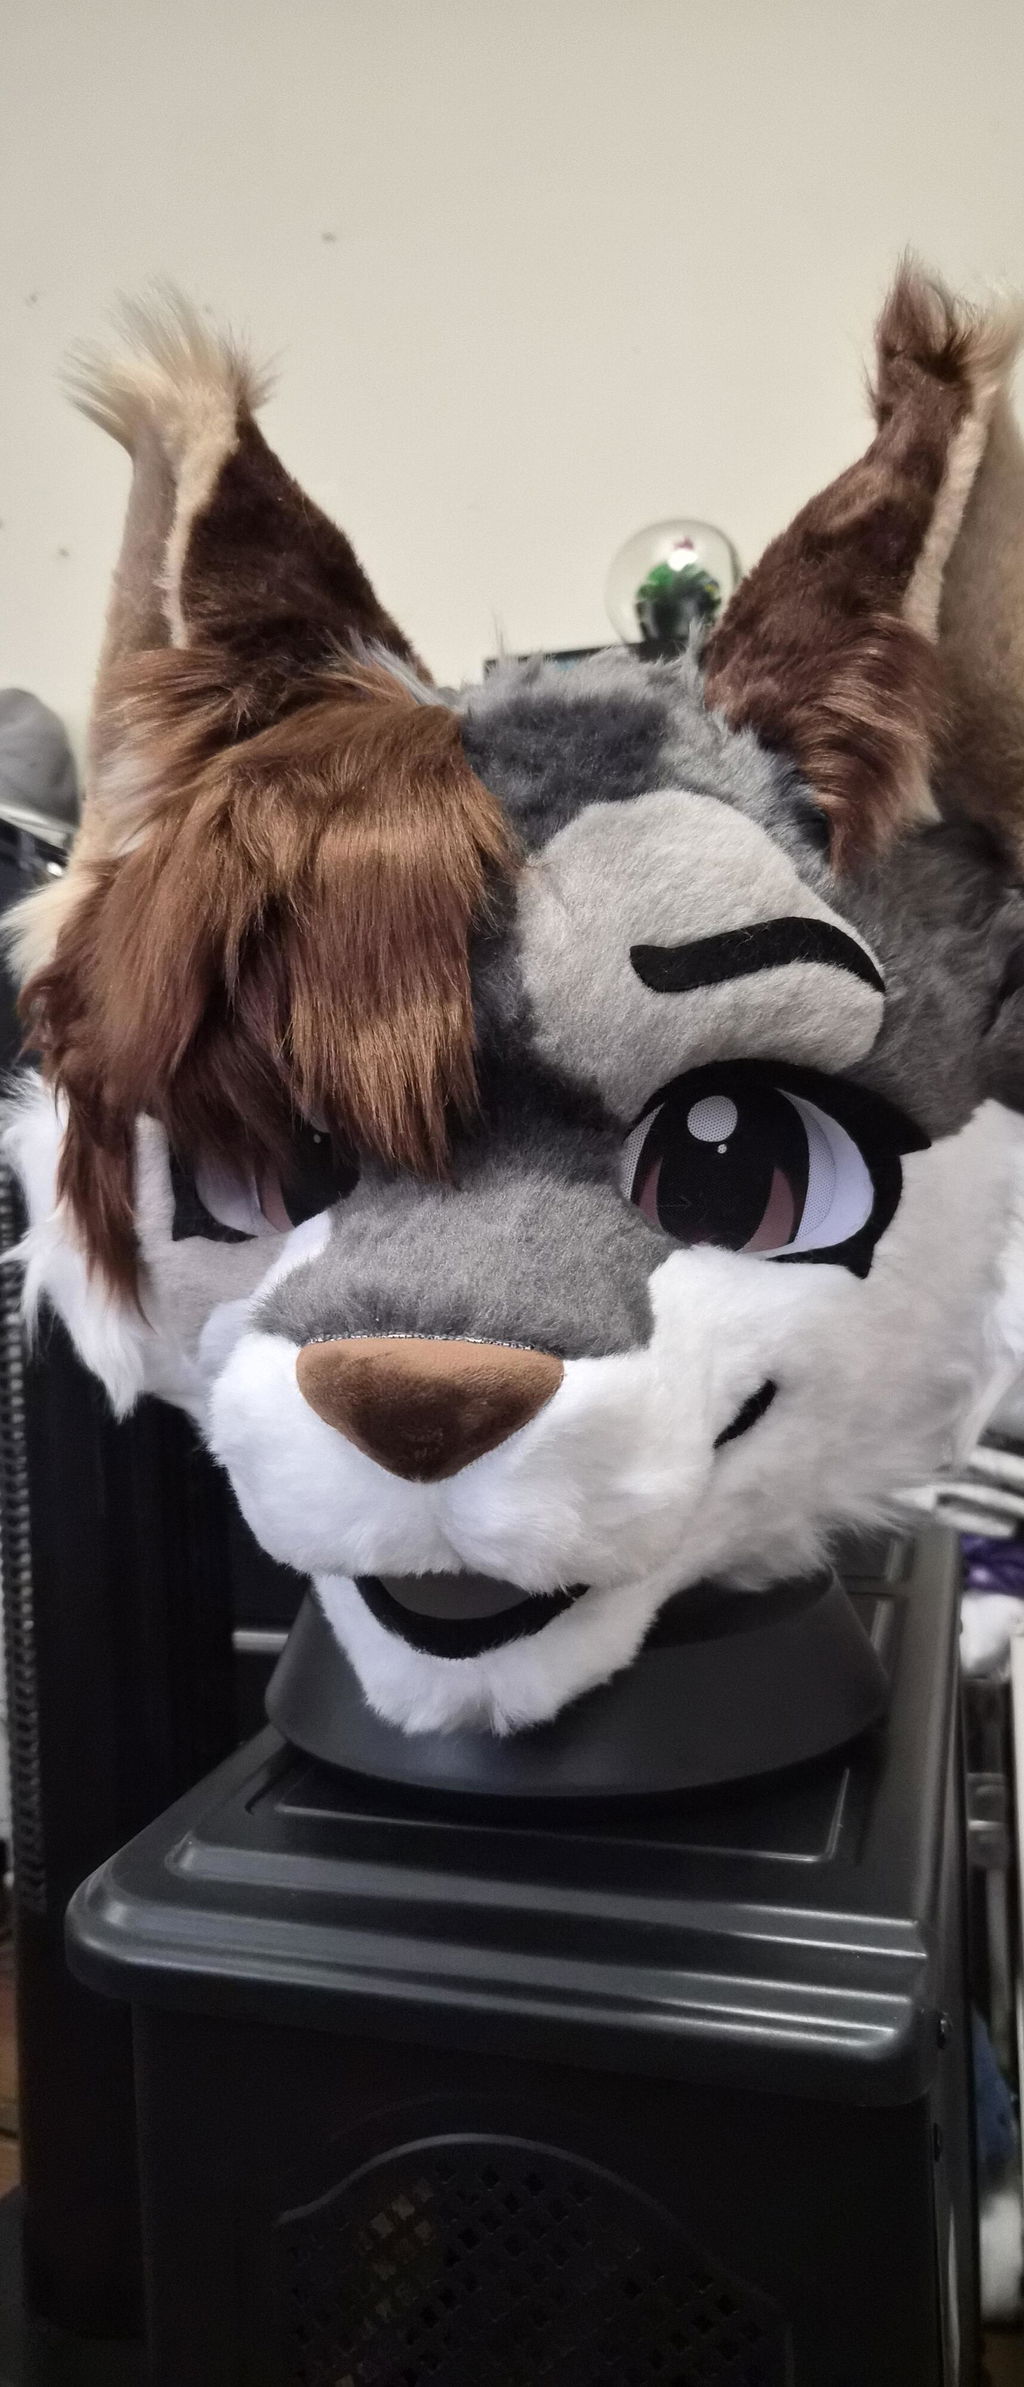
Begin with a three-line brief: the animal type, the expression, and the strongest color or marking. Kemono styling often makes the face the first thing people notice, so use those lines to check whether the muzzle, ears, eyes, and cheek volume point in the same direction. A cute expression may need soft contrast, while a confident character may rely on sharper markings or a stronger silhouette.
- Face: note whether the character should feel rounded, compact, gentle, or alert.
- Expression: choose the mood that should carry through still photos and greetings.
- Markings: identify the colors that must stay visible when the head is viewed from the front and side.
Choose coverage around your actual routine
Coverage is a planning decision, not only a style label. A head paired with paws and a tail can create a clear character look while leaving more flexibility for clothing and movement. A fuller arrangement may create a stronger visual transformation, but it also changes how you plan breaks, storage, and getting dressed. Match the option to the time you expect to spend walking, posing, sitting, or taking photos.
If an under-layer is part of your plan, compare the fursuit undersuit bodysuit with the intended coverage and color direction. Treat it as a coordination choice: it should support the outfit without competing with the character cues you want people to see.
Let accessories carry the character beyond the face
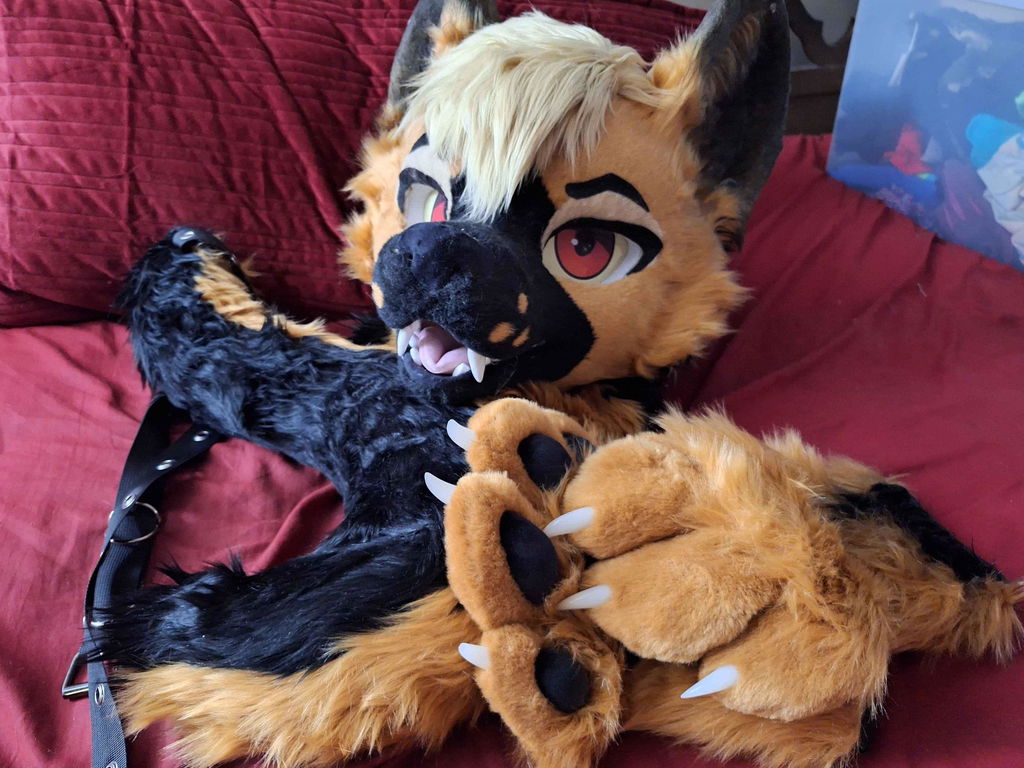
Hands, feet, and tail give a kemono character readable body language when the face stays still. Decide what the character does in a typical pose: wave, point, hold a prop, turn sideways, or make a playful silhouette. Then check whether the accessories support that action instead of adding unrelated visual noise.
For a ready-made accessory comparison, look at the premade customizable fursuit paws beside the character brief. A separate tail decision can be explored through the custom fursuit tail order. Keep the scale, color placement, and mood consistent so the complete look feels designed rather than assembled.
Test the option in three photo situations
A listing can look convincing in a front-facing image and still be hard to evaluate for everyday use. Imagine the same option in three scenes: a close portrait, a full-body group photo, and a side view while walking. Check which details remain visible, whether the silhouette is distinctive, and whether the accessories help the pose communicate.
- Use the portrait view to check the eyes, muzzle, expression, and face contrast.
- Use the group-photo view to check whether the colors and silhouette stay legible.
- Use the walking view to check how the ears, tail, paws, and coverage work together.
- Write down any missing pieces before treating the option as a complete outfit.
Turn your comparison into a clear shortlist
Keep only options you can explain in three sentences: what matches the character, what matches the event routine, and what still needs planning. This prevents a striking detail from distracting you from a coverage mismatch. It also makes it easier to compare a kemono fursuit with a consistent standard instead of changing your criteria from one listing to the next.
The best choice is the one whose face, markings, accessories, and intended use tell the same story. Give those four elements a final check before you decide, and you will have a more useful starting point for photos, conventions, and everyday character interaction.