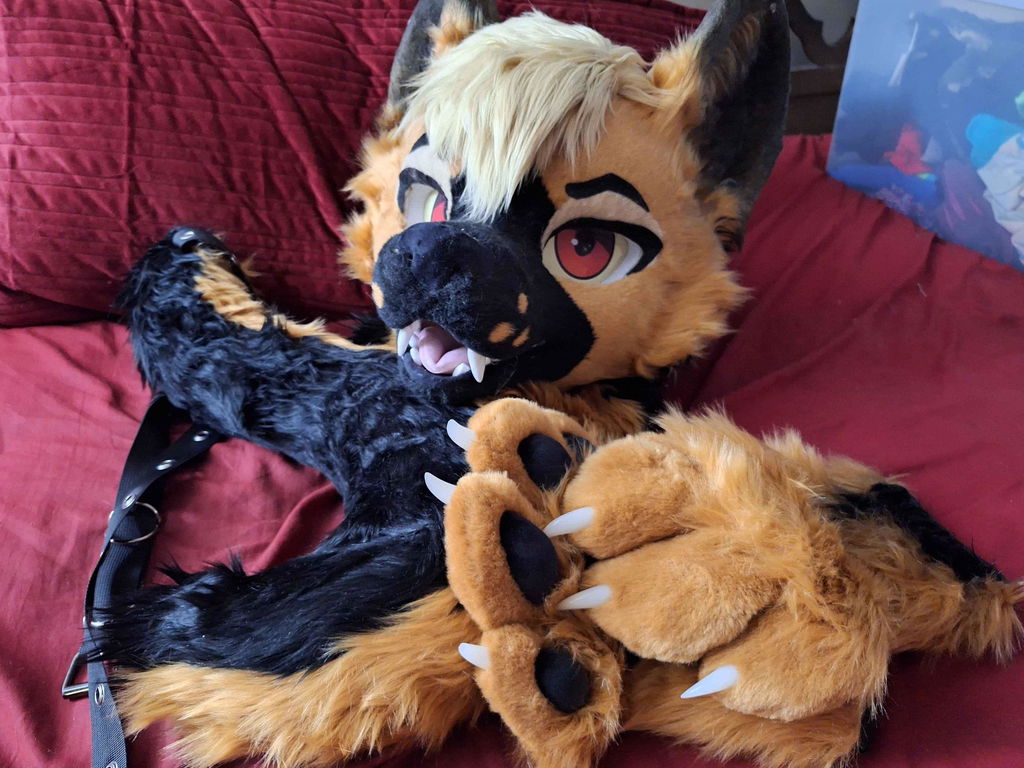
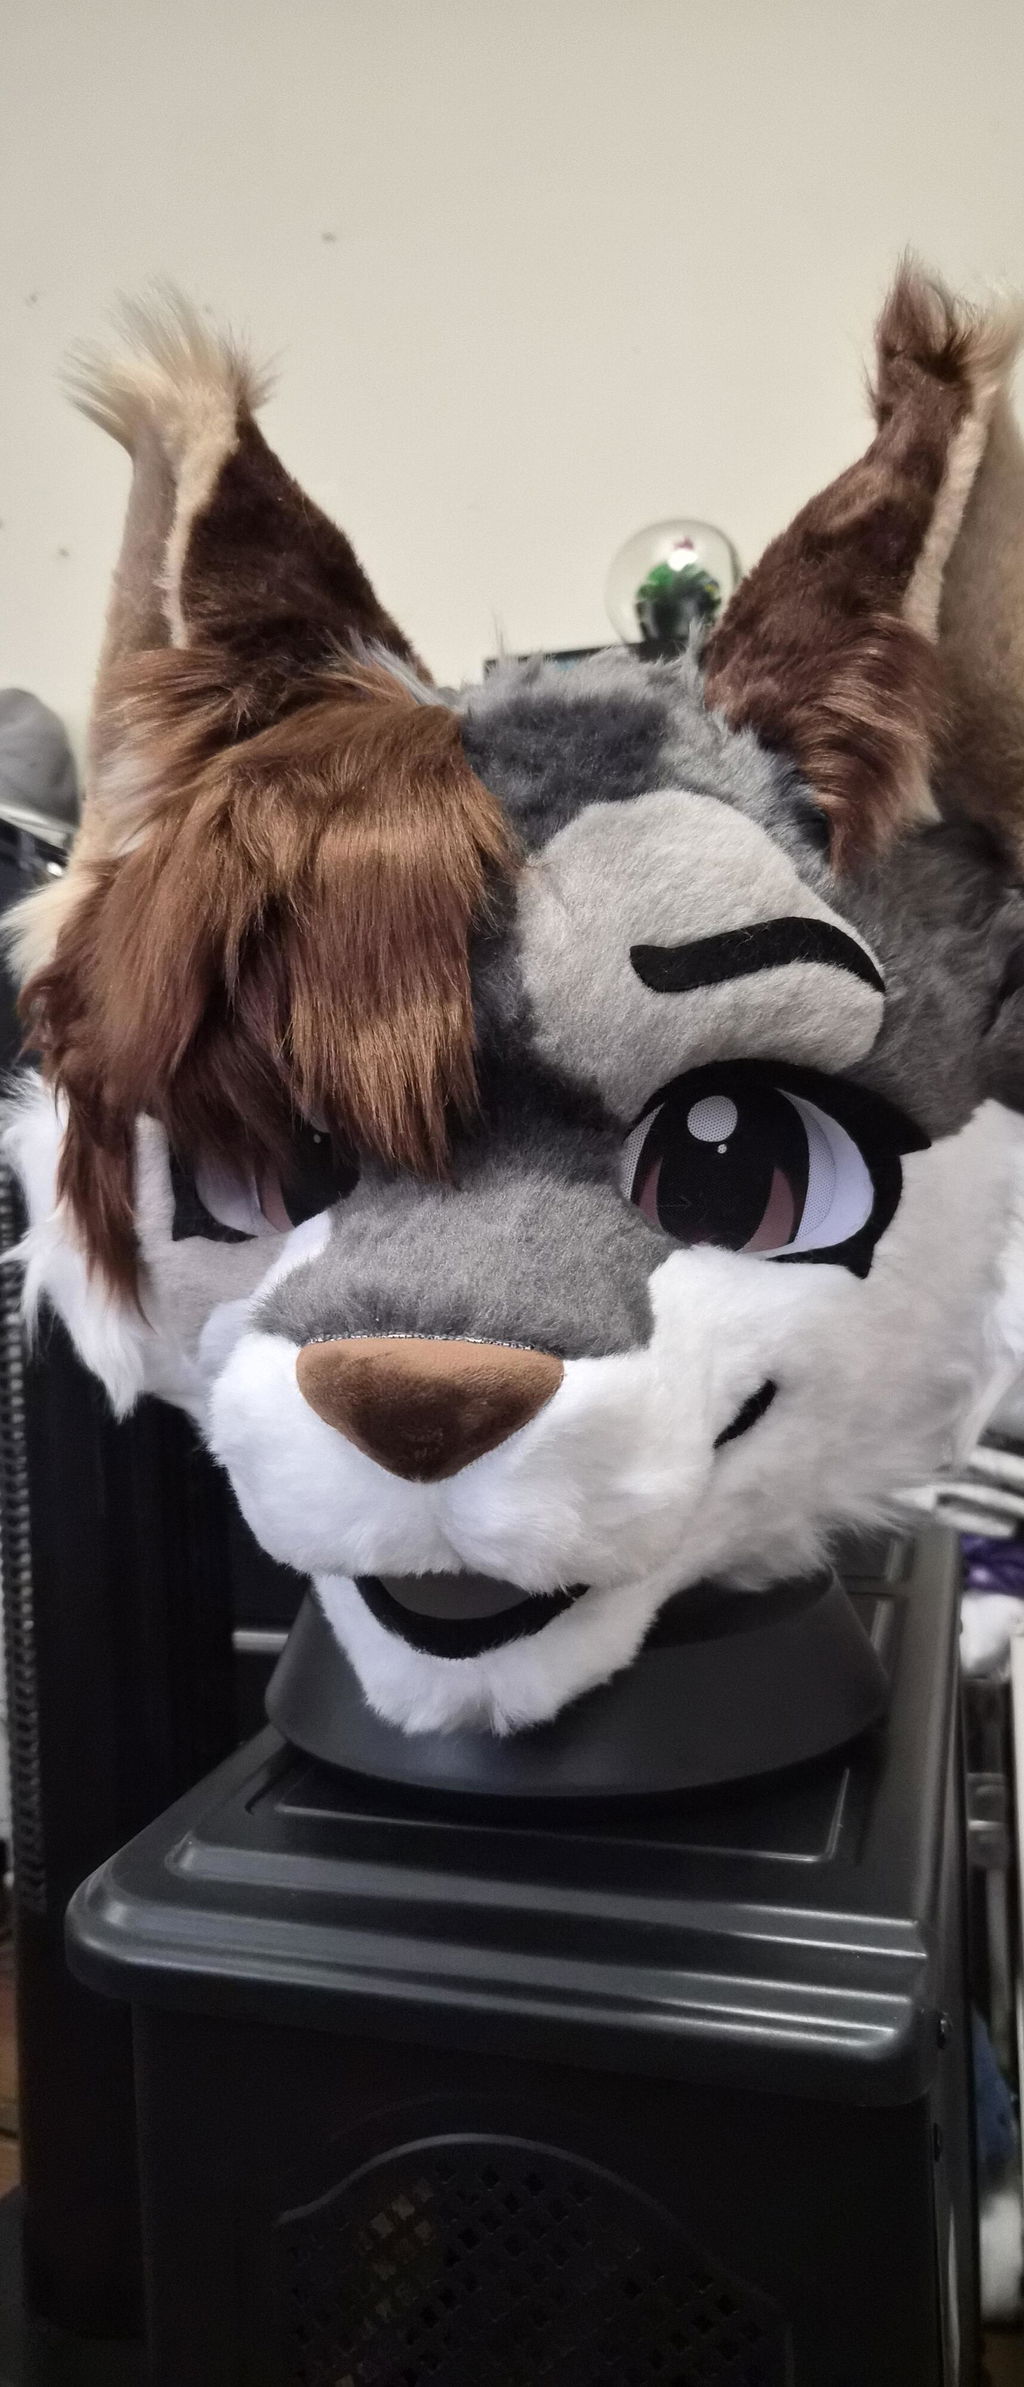
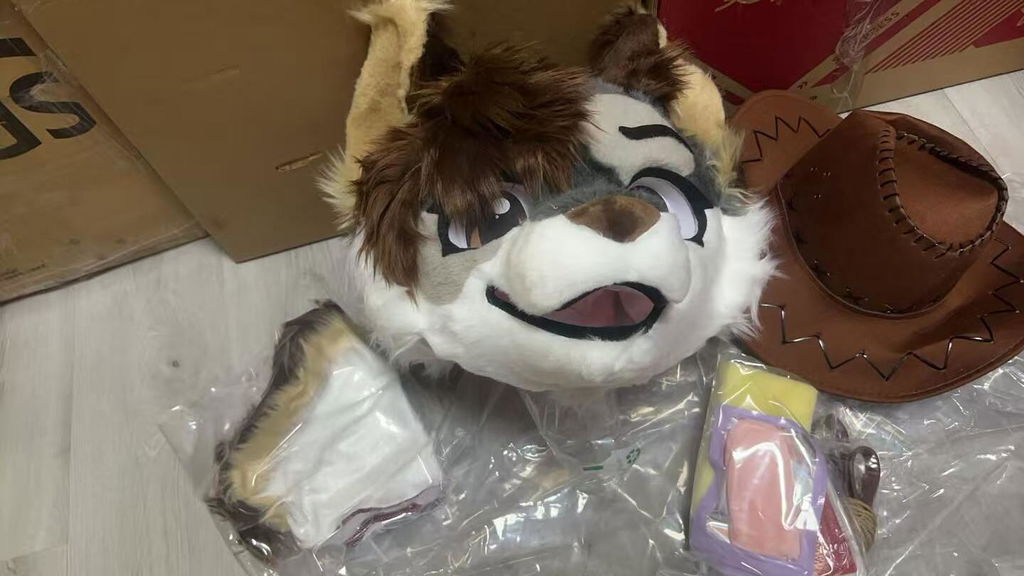
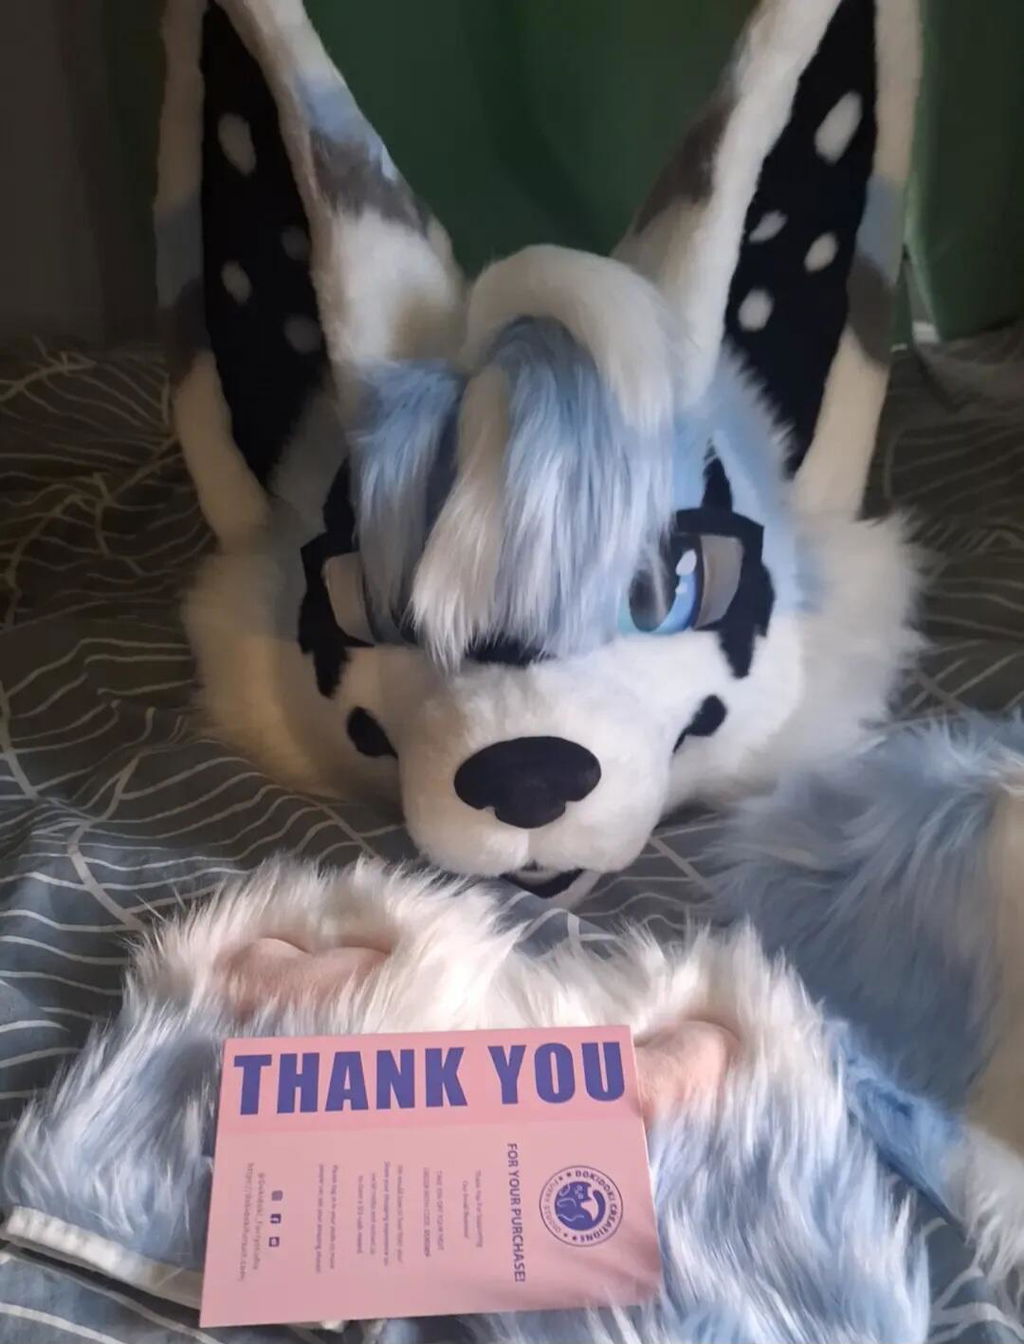
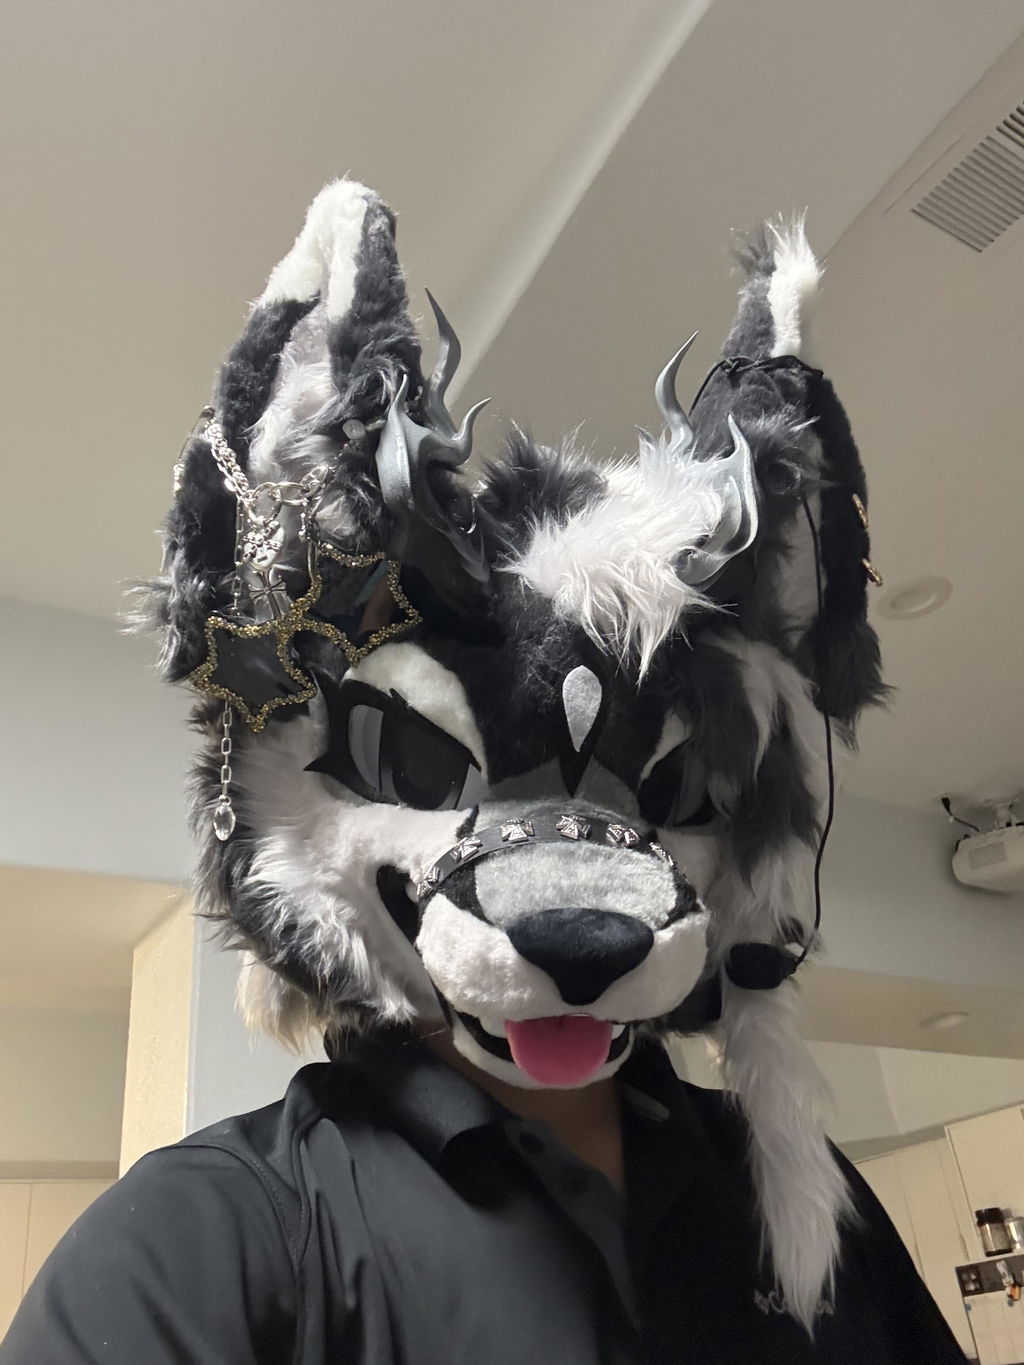
A realistic fursuit works best when its detail supports a clear character rather than becoming detail for its own sake. Before you choose one, decide where the suit will be worn, how much coverage you want, and which features must remain recognizable from a distance.
Start with the character cues people should notice first
Write down three cues before browsing: the animal type, the emotional expression, and the color or pattern that carries the design. These cues give you a useful filter for realistic fursuit listings. A detailed face can still feel unclear if the silhouette, eye area, and contrast do not point to the same character.
- Expression: choose whether the character should feel gentle, alert, playful, or dramatic.
- Silhouette: check the ears, muzzle, neck, and tail together instead of judging the head alone.
- Contrast: identify the markings that should remain visible in convention photos and group scenes.
Match coverage to the way you will move
Coverage changes both the visual impression and the practical planning. A head with paws and a tail can create a recognizable look with fewer layers to manage, while a fuller setup creates a stronger transformation but asks more of your event plan. Decide whether you will spend most of the day posing, walking between halls, meeting people, or taking photos outdoors.
For a lighter starting point, compare a realistic head or partial arrangement with the rest of your character brief. If the design needs a complete foundation, an undersuit bodysuit can be considered as part of the clothing plan. Treat it as a coordination item: the right choice should support the intended coverage without hiding the character cues you want visible.
Use paws and tail to reinforce the body language
Paws and tail are not just add-ons. They help the character communicate when the face is fixed, especially in photographs. Choose them by asking what gesture or stance the character uses most often. Soft, rounded paws can support a friendly pose; a stronger tail shape can make a side profile easier to read.
When you want a ready-made starting point, review the premade customizable fursuit paws alongside the main design. If you prefer to plan the accessory as a separate character decision, the custom fursuit tail order is another relevant comparison. The goal is consistency: color placement and scale should feel intentional beside the head and body.
Check the listing against your real event routine
Before deciding, turn the listing into an event checklist. Note the coverage, the pieces included, the character features you can verify from the images, and the accessories you would still need to plan. Then picture ordinary moments: carrying a bag, sitting for a break, taking a group photo, and moving through a crowded space. Those scenarios reveal gaps that a single product image may not show.
- Confirm which parts are included and which parts need a separate decision.
- Compare the visible silhouette with your three character cues.
- Set aside space for an under-layer and accessory plan.
- Choose poses that make the eyes, markings, paws, and tail readable together.
Make the final shortlist easy to explain
A good shortlist should let you explain why each option fits the character and the event. Keep one sentence for the visual reason, one for the coverage choice, and one for the movement plan. This makes it easier to spot a mismatch before you commit and keeps the search focused on a realistic fursuit that you can actually use.
Once the shortlist is clear, compare the available pieces with the same criteria rather than switching between unrelated styles. A thoughtful choice leaves room for expression, movement, and the small details that make the character feel like yours.