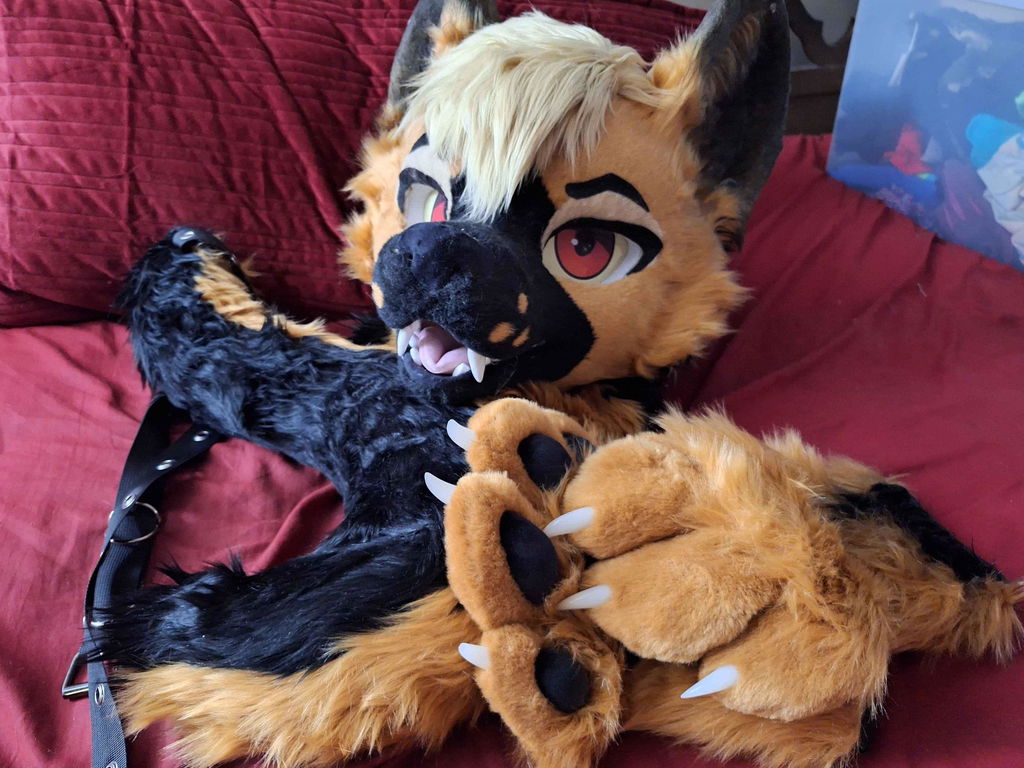
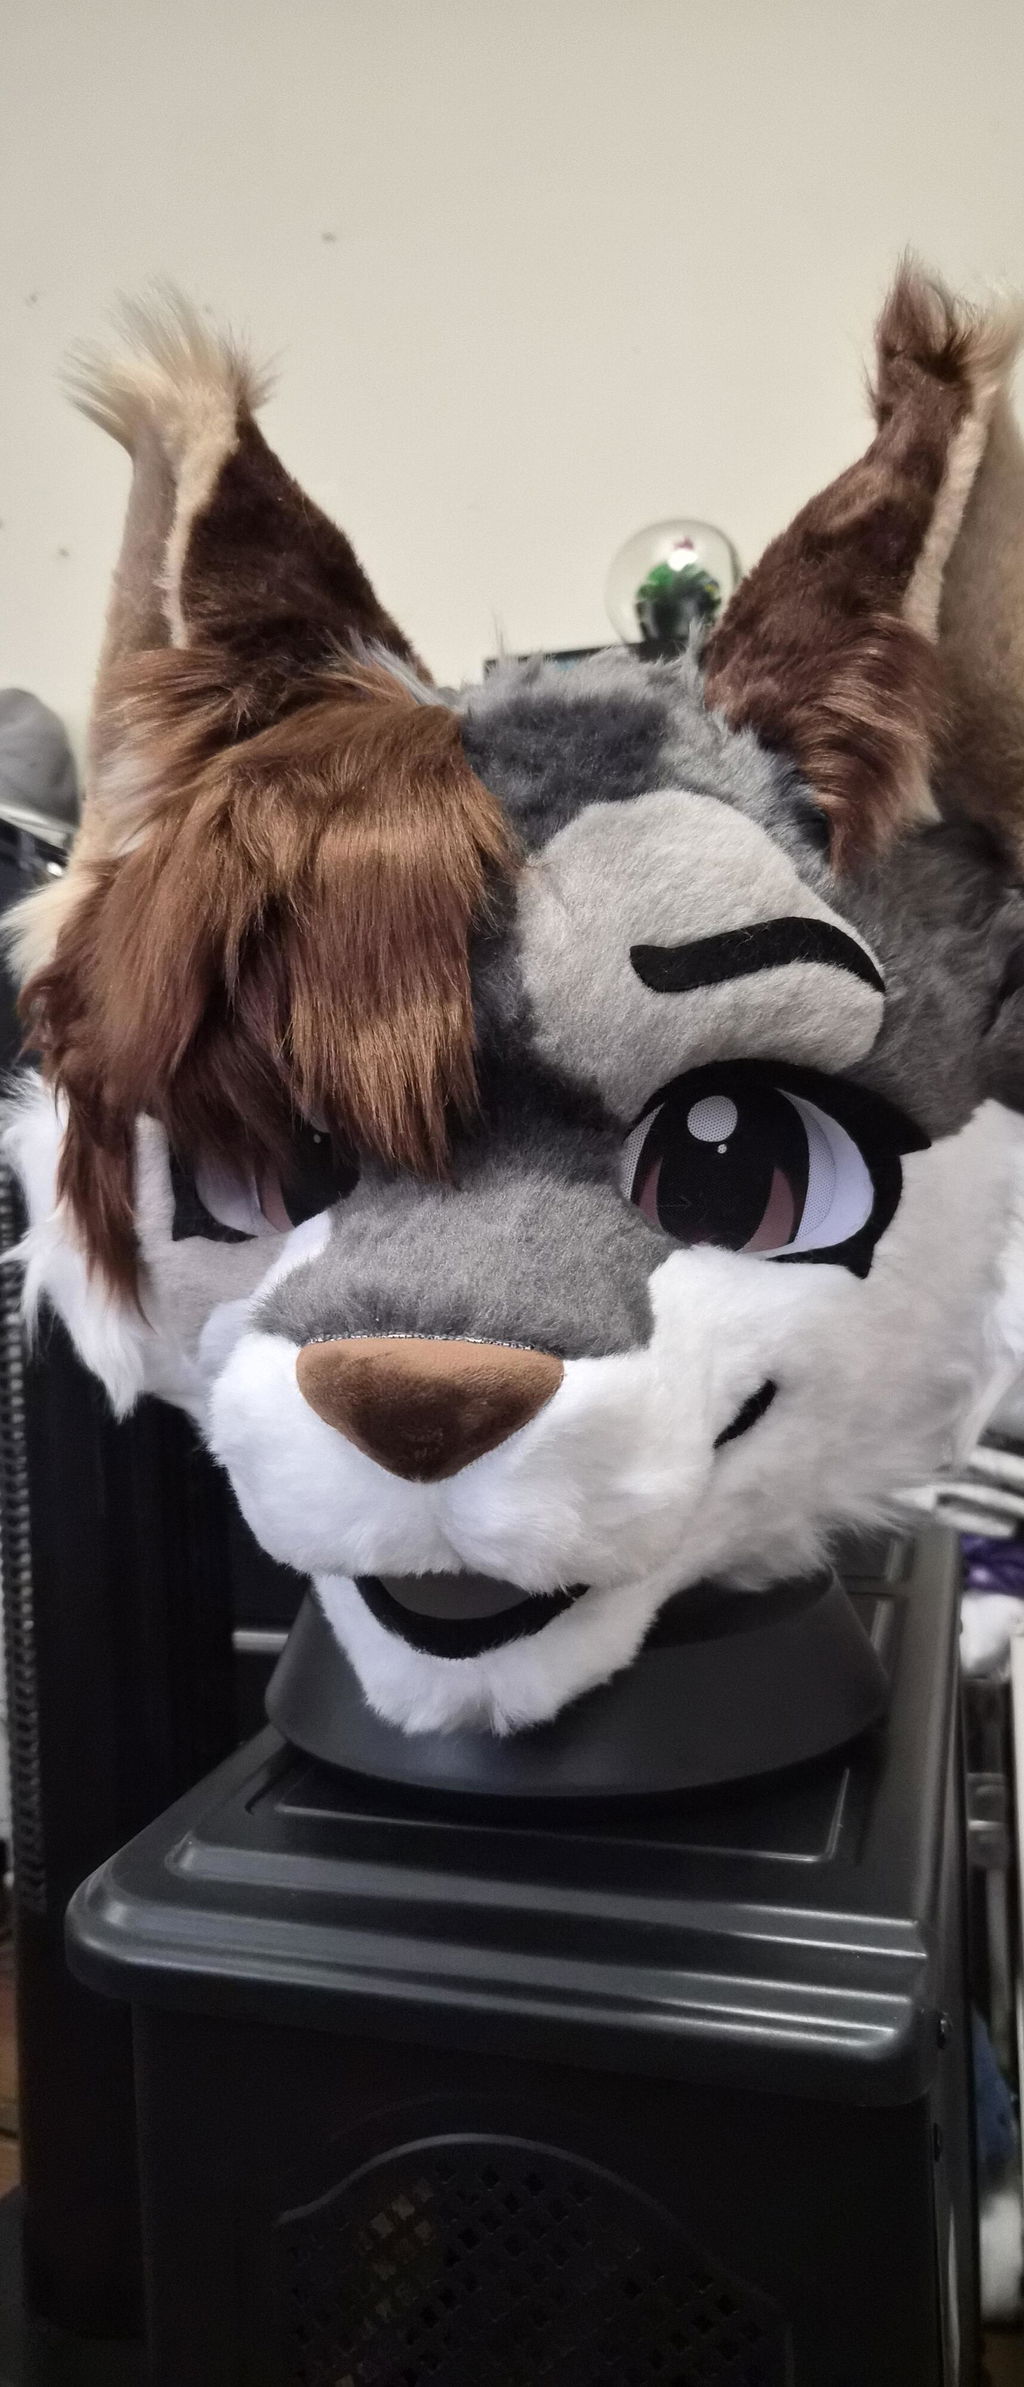
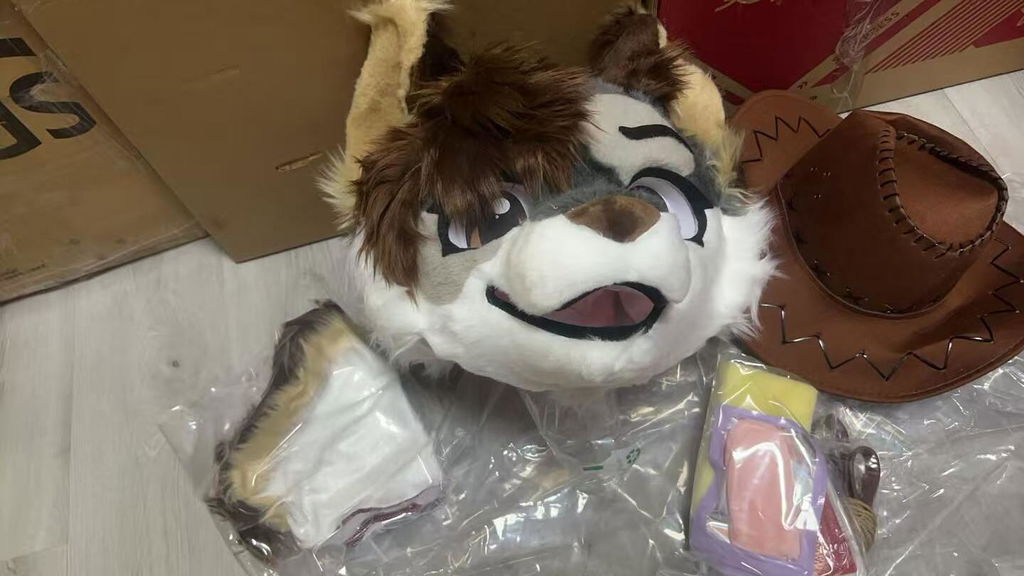
A doki fursuit project becomes easier to evaluate when the character is clear before the outfit is chosen. A name, species, palette, and favorite image are useful beginnings, but they do not always explain how the character should read in a photograph, at a convention, or as a partial suit. A short, practical character brief can turn scattered inspiration into decisions that are easier to compare.
This article focuses on the planning layer: the character story, silhouette, markings, color roles, coverage, accessories, and real-life use. It does not claim a hidden maker process or promise that a listing will match an unstated preference. Instead, it gives you a way to describe what matters, identify what can stay flexible, and ask better questions about a real DokiDoki listing.
Define the moment your character is meant to create
Real use scenario: You have several favorite references and want a suit that feels playful in photos but calm enough for a long community event. Without a priority, every new idea competes with the last one.
Actionable advice: Write one sentence beginning with “When people first see this character, I want them to notice…” Finish it with a feeling, a gesture, or a visual cue. Keep that sentence near your character references. It becomes a filter when you are choosing between a stronger marking, a larger accessory, or a simpler silhouette.
The current store catalog contains several different character directions, including Red Fox Fursuit, Pink Princess Fursuit, and Beijing Opera Fursuit. The factual lesson is not that these listings represent one standard style; it is that a character can be introduced through species, color story, costume language, or cultural inspiration. Your brief should say which kind of first impression matters most.
- Write the desired first impression in one sentence.
- Choose one primary character cue.
- Mark ideas that are essential versus optional.
- Review the sentence before adding another visual feature.
Choose a character direction before choosing details
Real use scenario: You are deciding between an animal-led design and a costume-led design. Both look appealing, but they lead to different decisions about ears, markings, clothing, and accessories.
Actionable advice: Make two quick briefs using the same format: species or character source, mood, movement, palette, and intended setting. Compare the briefs rather than comparing isolated images. The stronger direction is the one that gives you useful answers when you ask what the character wears, how they greet someone, or what feature should remain visible at a distance.
A DokiDoki product page can show the exact identity of an available listing, but a product title does not define your original character. Use listings as concrete references for a direction you already understand, and ask for clarification when a detail important to your brief is not stated.
- Draft two directions before committing to one.
- Compare the character story, not just the color.
- Keep one flexible element for later refinement.
- Separate reference images from required traits.
Give every color a job
Real use scenario: Your mood board has many attractive colors, but the finished character risks looking noisy or losing its face when photographed under different light.
Actionable advice: Assign each color a role: base, contrast, accent, and neutral. The base should carry most of the surface, the contrast should separate important forms, and the accent should appear where you want attention. Test the palette in a small grayscale sketch to see whether the eye area, muzzle, hands, or costume details still separate.
Color naming in a product listing is useful only for that listing. It does not guarantee how your screen, venue lighting, or camera will reproduce a shade. Describe the relationship between colors in your brief, and keep a reference image or swatch that can be discussed directly.
- Limit the number of roles before adding more colors.
- Check the face in grayscale and thumbnail size.
- Repeat the strongest accent only where it helps recognition.
- Describe color relationships rather than relying on vague names.
Make the silhouette recognizable without markings
Real use scenario: The character looks distinctive in a close-up sketch but becomes anonymous when seen from across a hall or in a small social profile image.
Actionable advice: Fill the head and body outline with one dark color and remove internal details. Study the ears, head width, muzzle, tail, and major accessories. If the character cannot be recognized, decide whether the missing cue should be a stronger outline, a clearer accessory, or a simpler arrangement of shapes.
This test is a design exercise, not a claim about any particular product’s construction. It helps you communicate priorities whether you are evaluating a premade piece or describing an original character for a custom conversation.
- Test the outline at large and thumbnail sizes.
- Identify the one shape that should carry recognition.
- Do not use markings to rescue an unclear silhouette.
- Check front, side, and three-quarter views.
Translate personality into face and gesture
Real use scenario: You want a friendly, mischievous, or reserved character, yet the face and pose keep communicating a different mood.
Actionable advice: Create three tiny expression studies with the same palette. Change only the eye direction, brow or forehead marking, mouth line, and head angle. Then write two gestures the character would use when greeting someone. This connects the visual brief to real behavior instead of treating expression as a single static feature.
When you compare a real listing, keep the listed facts separate from your interpretation of its personality. A name such as Red Fox or Pink Princess can suggest a starting story, but it does not prove how you will feel wearing the item or how it will look in every setting.
- Make neutral, cheerful, and focused expression studies.
- Choose gestures that can be performed comfortably.
- Keep eye and marking decisions consistent with the mood.
- Ask about unstated fit or visibility details directly.
Plan coverage around the way you move
Real use scenario: You want the character to look complete in photos but expect to remove the head, tail, or paws for meals, travel, and breaks.
Actionable advice: Draw the character in the exact coverage you expect to wear: head only, head with paws, head with paws and tail, or a fuller combination. Check the neck, wrists, ankles, and waist for intentional transitions. Also list what you will carry, where components will rest, and how quickly you need to change.
The catalog includes a Fursuit Undersuit Bodysuit alongside separate paw and tail listings. Those are verified product categories, not proof that any components automatically fit together. Use measurements and item-specific questions to decide whether the combination suits your plan.
- Make a coverage sketch before selecting accessories.
- Check visual transitions at every exposed edge.
- Plan removal and storage for each component.
- Confirm compatibility rather than assuming it from appearance.
Use accessories as character punctuation
Real use scenario: You keep adding bows, tails, paws, clothing, or props because each one looks good by itself, but the whole character has no clear focal point.
Actionable advice: Give each accessory one job: silhouette, movement, story, or practical comfort. If two accessories do the same job, keep the one that is easier to wear and maintain. Repeat one important color or shape outside the face, then leave enough quiet space for the main expression to remain readable.
Today’s catalog includes separate paw and tail listings as well as a Portable Fursuit Fan. They can be considered as individual planning references, but accessory availability does not decide what your character needs. Start with the story and the event routine, then select only the pieces that support both.
- Assign every accessory a clear purpose.
- Keep the face as the visual anchor.
- Test movement with the full planned combination.
- Separate comfort equipment from character decoration.
Prepare a brief that another person can understand
Real use scenario: You are ready to ask a seller or maker a question, but your message is a long folder of images with no ranking of what matters most.
Actionable advice: Put the essentials first: character name, species or source, mood, primary silhouette cue, colors by role, required markings, intended coverage, measurements, and use setting. Then list flexible details and questions. Label each reference as “must match,” “inspiration,” or “open to interpretation.”
DokiDoki can be your concrete reference point when you link to an exact product page, but the brief should remain useful even if the listing changes. It should explain the character rather than merely repeat a product title. That makes comparison clearer and reduces accidental assumptions about features that were never stated.
- Rank requirements before adding inspiration images.
- Include intended use and coverage.
- Label every reference by its role.
- Ask direct questions about unstated details.
Test the character brief in a real-life rehearsal
Real use scenario: The design looks right on screen, but you have not checked whether the full combination works when walking, sitting, posing, taking photos, and taking a break.
Actionable advice: Rehearse with the planned clothing and accessories in a safe indoor space. Practice the gestures from your brief and photograph the character from front, side, and three-quarter angles. Note anything that changes the silhouette, blocks a useful movement, or makes a break awkward. Turn those observations into questions before the first public outing.
A rehearsal cannot certify the comfort or safety of a specific product. It does give you personal evidence about your routine, and it helps you separate an artistic adjustment from a fit or wearability question that belongs with the seller or maker.
- Photograph the character from several useful angles.
- Practice the gestures and movements you planned.
- Write down comfort and visibility questions.
- Revise the brief without losing the primary character cue.
Before you finalize the brief, perform a reference audit. Look at each image and ask what you are actually borrowing: the ear shape, the eye mood, the color relationship, the clothing language, or the pose. If an image is only there because you like its overall feeling, label it as inspiration rather than a requirement. This distinction matters when several references point in different directions. It also gives you a calm way to resolve disagreements: protect the character cue that appears in your one-sentence story, then keep lower-priority details flexible. A brief with fewer, clearer priorities is easier to review, easier to adapt for a partial outfit, and less likely to become a collage of unrelated visual signals.
A clear doki fursuit brief is not a sales script. It is a compact description of the character you want to bring into the world and the way you expect to live in that character. Start with the first impression, give colors and shapes a job, plan coverage around movement, and treat accessories as support rather than clutter. When a real DokiDoki listing helps you compare directions, keep the exact product facts separate from your own requirements. The result is a more useful conversation and a character that still feels intentional after the first photograph.